ServiceNow
Learn how to connect your ServiceNow account to your Dashboard and sync your company information to improve your digital workflow. The ServiceNow integration now supports two-way synchronization, allowing product and employee information to sync in both directions between GroWrk and ServiceNow.
Connect your account
- Enter your ServiceNow user credentials: URL, username, and password. Select Continue.

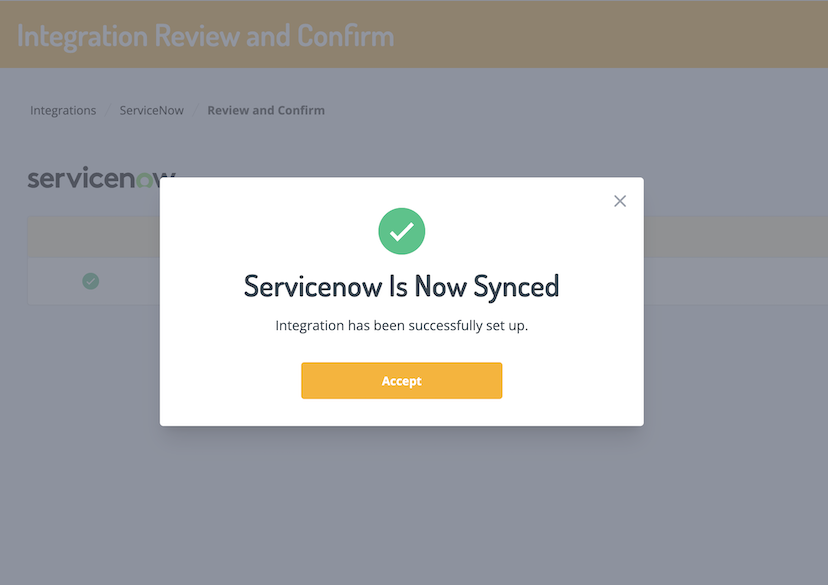
- You will be notified that ServiceNow has now synced to your GroWrk account. Select Accept.
Choose from three sync options to control your data flow:
- ServiceNow → GroWrk: Data is imported from ServiceNow into GroWrk
- GroWrk → ServiceNow: Data is exported from GroWrk to ServiceNow
- Bidirectional Sync: Data flows in both directions between systems
Note: If no selection is made, the default sync direction will be ServiceNow → GroWrk.

Filters
If you select GroWrk → ServiceNow or Bidirectional Sync, customize and set filters for syncing your GroWrk account data to ServiceNow in the Filters tab. There are two groups of filters: employee data and product data.
- In the Integrations Setup page, select the Filters tab. To edit, select the edit icon.

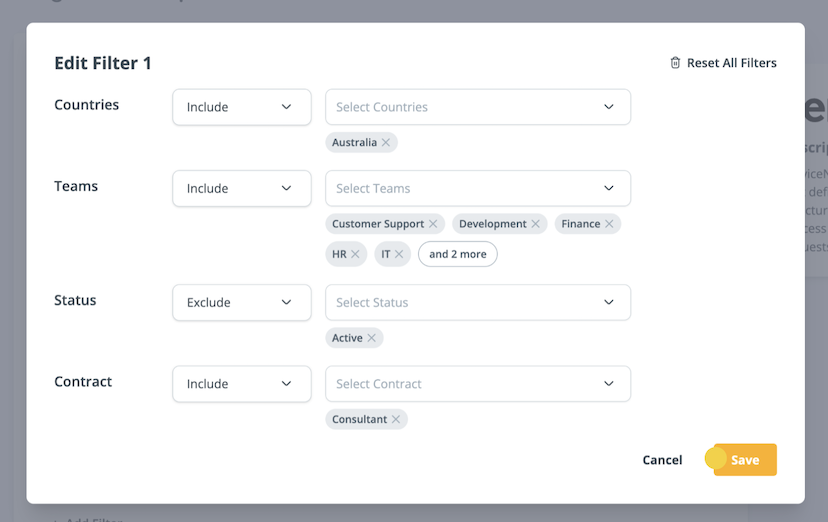
- Set up employee filters. Select the filter type (Include or Exclude) and make your filter selections. Select Save.
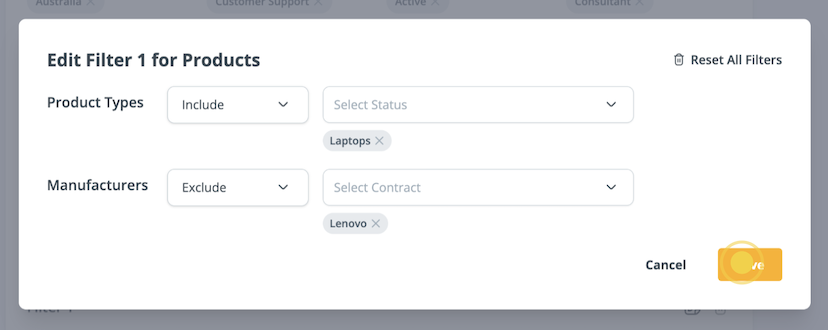
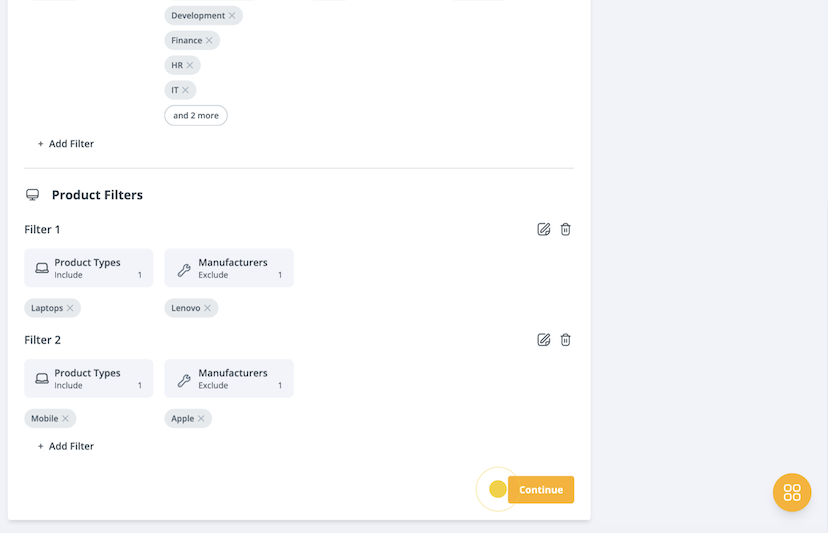
- Set up product filters. Select the filter type (Include or Exclude) and make your filter selections. Select Save.
- Select Continue to save and apply the filters to your data.
Synced Fields
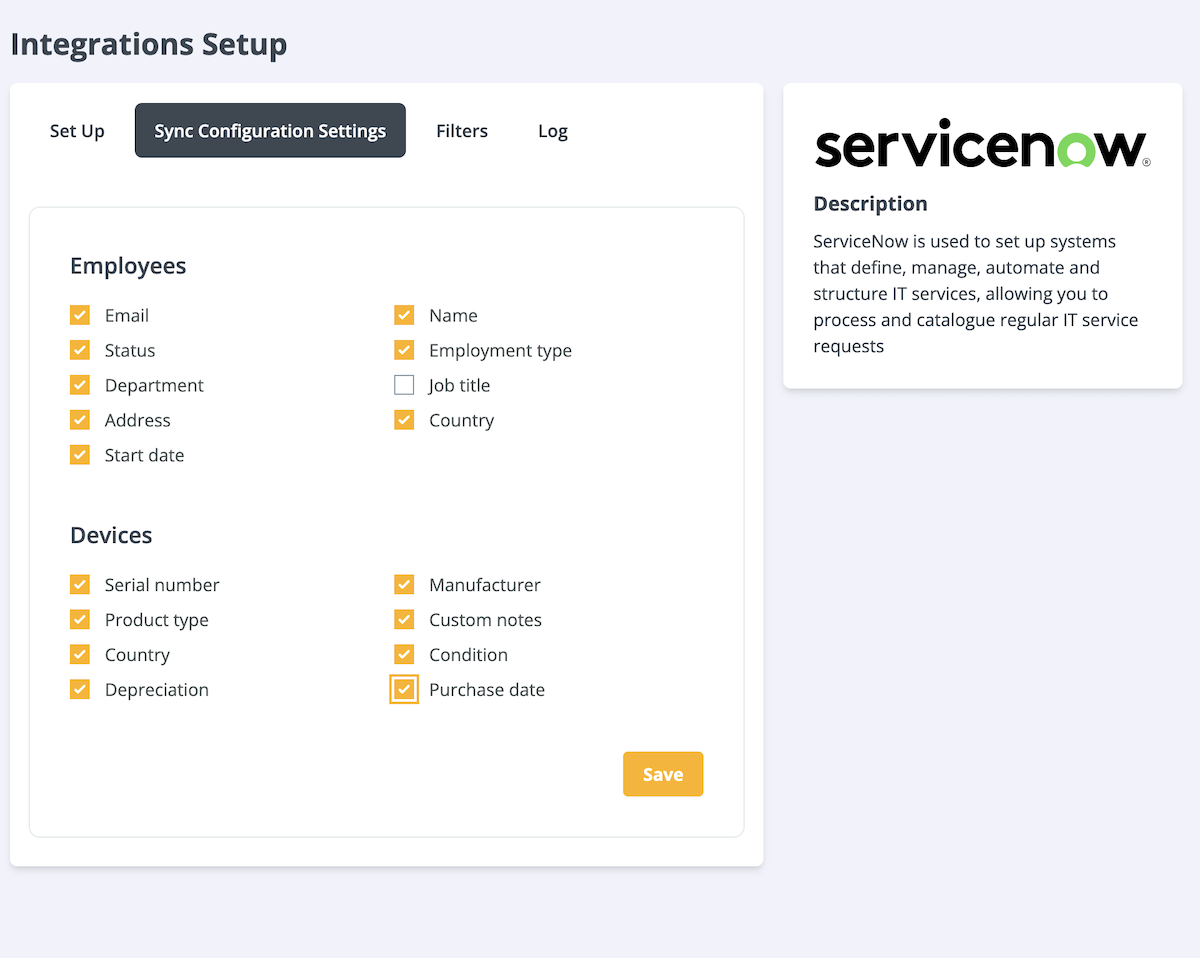
If you select ServiceNow → GroWrk or Bidirectional Sync, select which fields will be synced from ServiceNow to GroWrk in the Sync Configuration Settings tab.
- In the Integrations Setup page, select the Sync Configuration Settings tab.

- Select the fields for Employees and Devices that will be synced. Select Save.
- You will need to resync the integration to apply the changes. Select the Set Up tab. In the Resync section, select Update.

The following employee fields can be selected:
- Status
- Department
- Address
- Start date
- Name
- Employment type
- Job title
- Country
The following product fields can be selected:
- Serial number
- Product type
- Country
- Depreciation
- Manufacturer
- Custom notes
- Condition
- Purchase date
Notes:
- The Email field in ServiceNow syncs with the Work email field in GroWrk.
- The Location field in ServiceNow syncs with the employee address in GroWrk.
GroWrk ↔ ServiceNow Webhook
The following items are required to set up webhooks:
- ServiceNow admin role
- GroWrk API Key
- Grant access to the API host
Import the update set
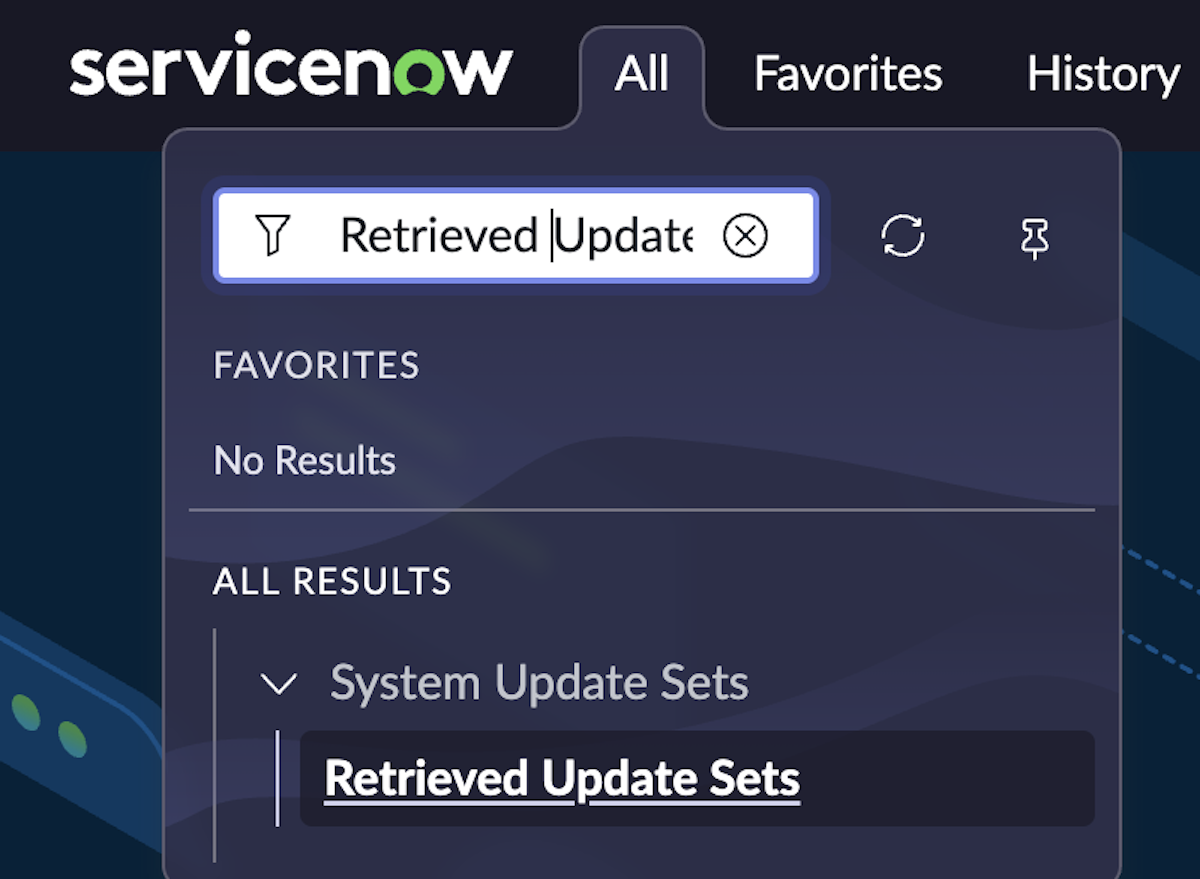
- In ServiceNow, under System Update Sets, select Retrieved Update Sets.
- Select Import Update Set from XML and select the GroWrk XML file.
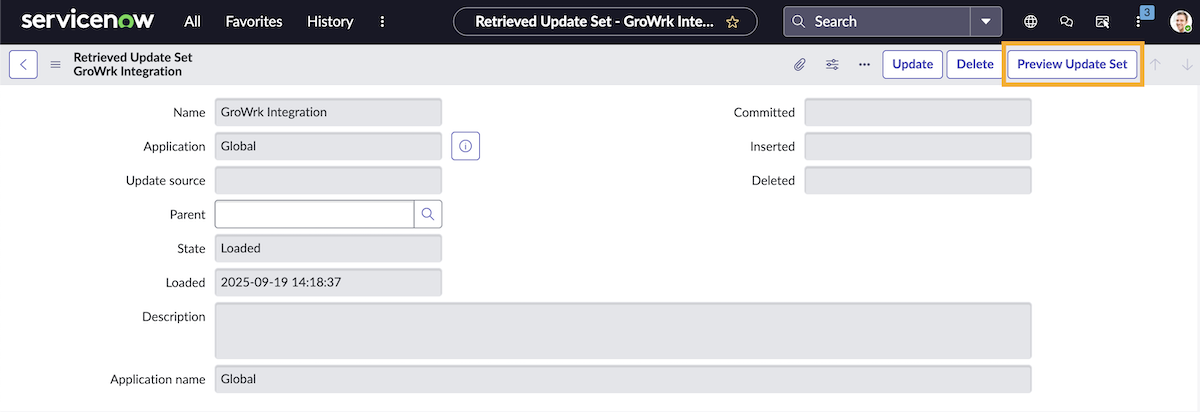
- Open the retrieved set, then select Preview Update Set.
- If the following errors are displayed, select Accept remote update.
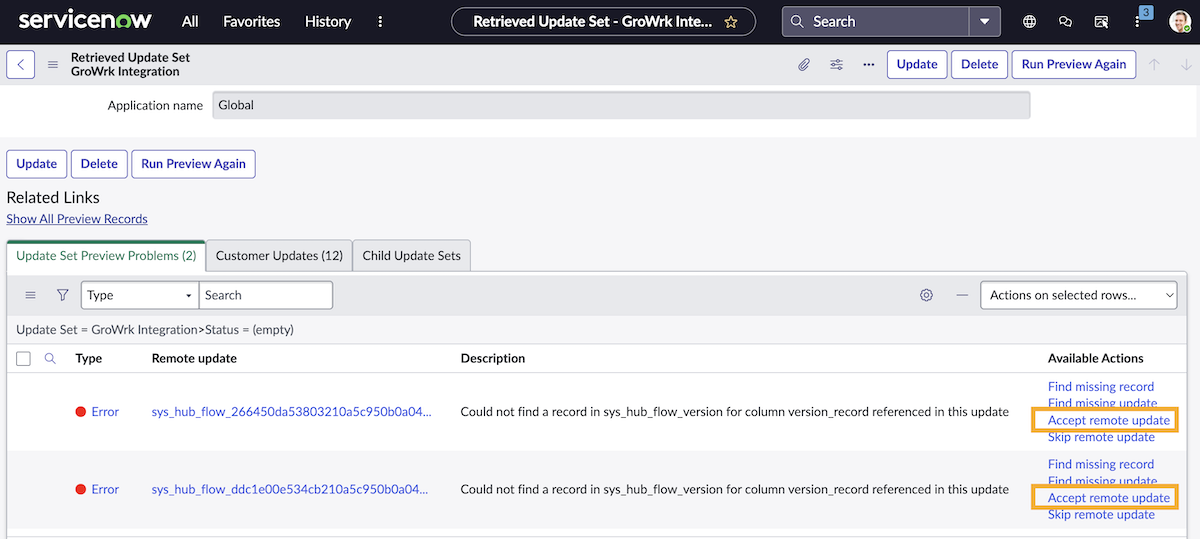
- When the errors are cleared, select Commit Update Set.
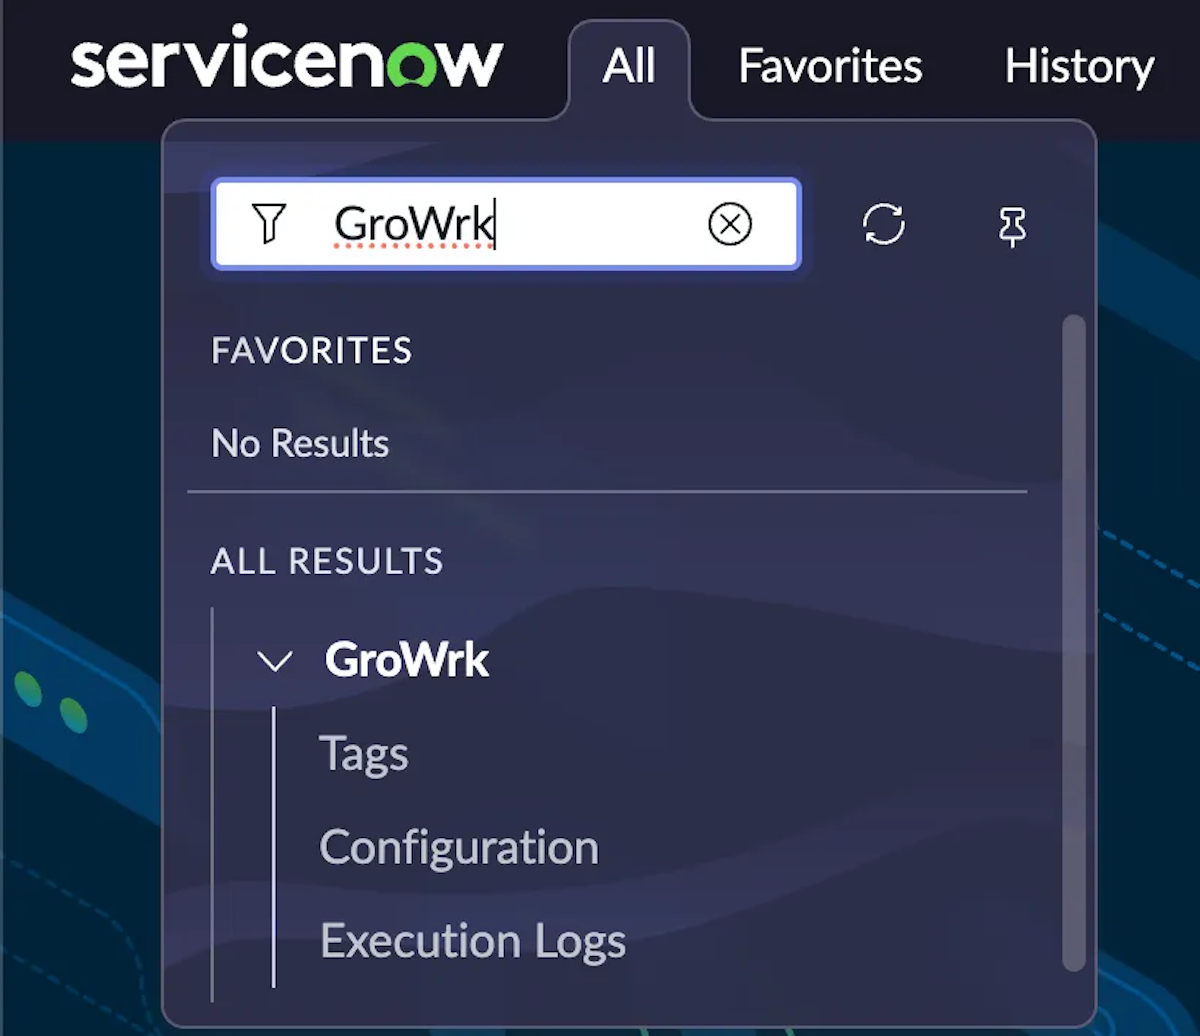
Set up tag
- In the menu under GroWrk, go to Tags.

- Create a new tag and name it GroWrk. You must use a global/public tag, not a private user tag.
- Once the tag is created, open it. Right-click on the header, then select Copy sys_id. You will need this to configure your properties in the next step.
Configure properties
- In the menu under GroWrk, select Configuration.
- Set and update the following properties:
| Property | Example | Notes |
|---|---|---|
x_growrk.api.url | https://io.growrk.com/api/webhooks/servicenow/ticket-order-event | HTTPS endpoint |
x_growrk.api.key | •••••••• | Paste your key |
x_growrk.tag_id | <tag sys_id> | The sys_id of the tag from the previous step |
x_growrk.enabled | true | This property toggles the integration on/off |
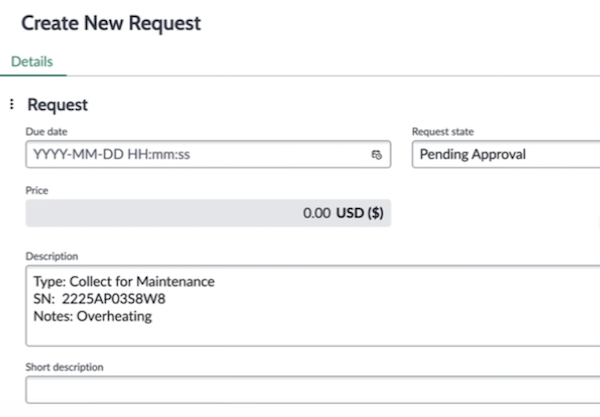
Create Collect for Maintenance order
- In Open Requests, select New to create a ticket.
- In the description, include the following fields:
- Required: Type (Order type) and SN (Serial number). If there are multiple products, divide serial numbers with commas. Check for and delete any spaces that may have been entered after the Type and SN.
- Required: Type (Order type) and SN (Serial number). If there are multiple products, divide serial numbers with commas. Check for and delete any spaces that may have been entered after the Type and SN.
- Select Save.
- Add the GroWrk tag.
- Back in the menu, select Execution Logs. Check the logs to confirm the flow shows a successful run.
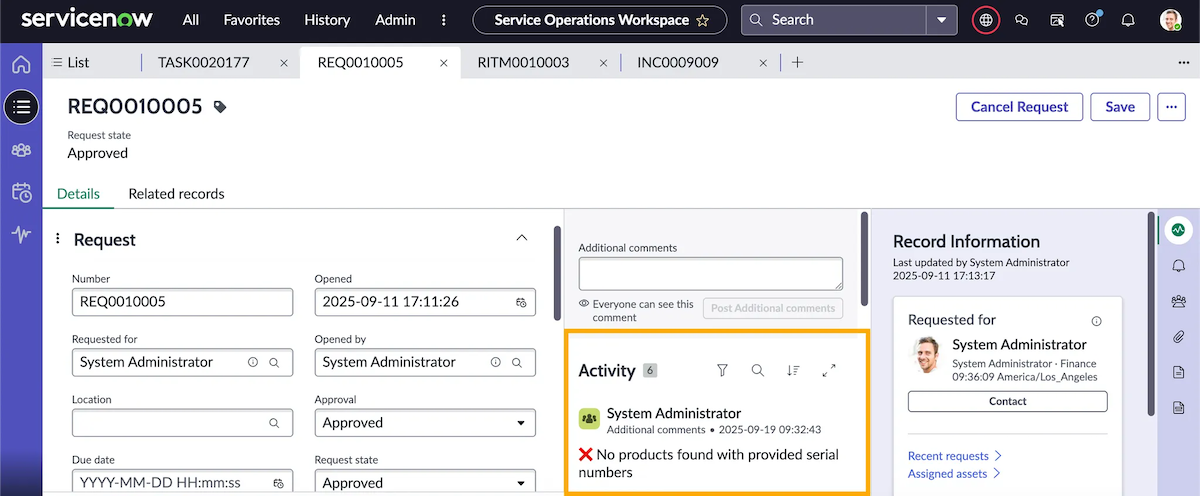
- If the execution logs show no errors, your order has been successfully placed. You’ll see the outcome, success or failure, in the Additional comments field.
- You can also view the order in GroWrk, which will display the ServiceNow ticket number and notes in the Order History.
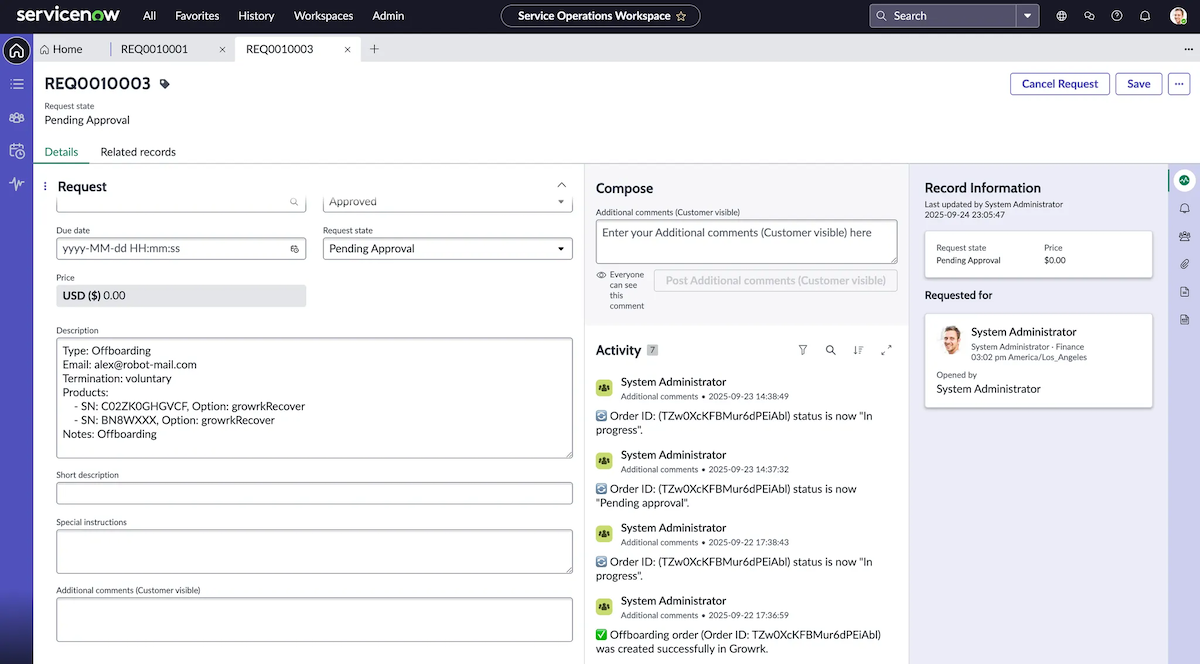
Offboard an employee
- In Open Requests, select New to create a ticket.
- In the description, include the following fields:
- Required: Type, Email, Termination, Products
- The Email field must be the employee’s email, written in plain text format (not a link).
- The Termination field must be written as Voluntary or Involuntary. This indicates the reason for the employee's departure.
- The Products field must list products assigned to the employee, formatted using hyphens (not bullet points):
- "- SN: PYE435ET45SDFG, Option: growrkRecover"
- The Option field must be written as Keep, clientRecover, or growrkRecover
- If the employee will be keeping the products, enter Keep.
- If your company will facilitate recovery of products, enter clientRecover.
- If you request GroWrk to recover the products, enter growrkRecover.
- Optional fields: Date (For scheduled offboardings)
- Format: YYYY/MM/DD
- Required: Type, Email, Termination, Products
- Select Save.
- Add the GroWrk tag.
- Back in the menu, select Execution Logs. Check the logs to confirm the flow shows a successful run.
- If the execution logs show no errors, your order has been successfully placed. You’ll see the outcome, success or failure, in the Additional comments field.
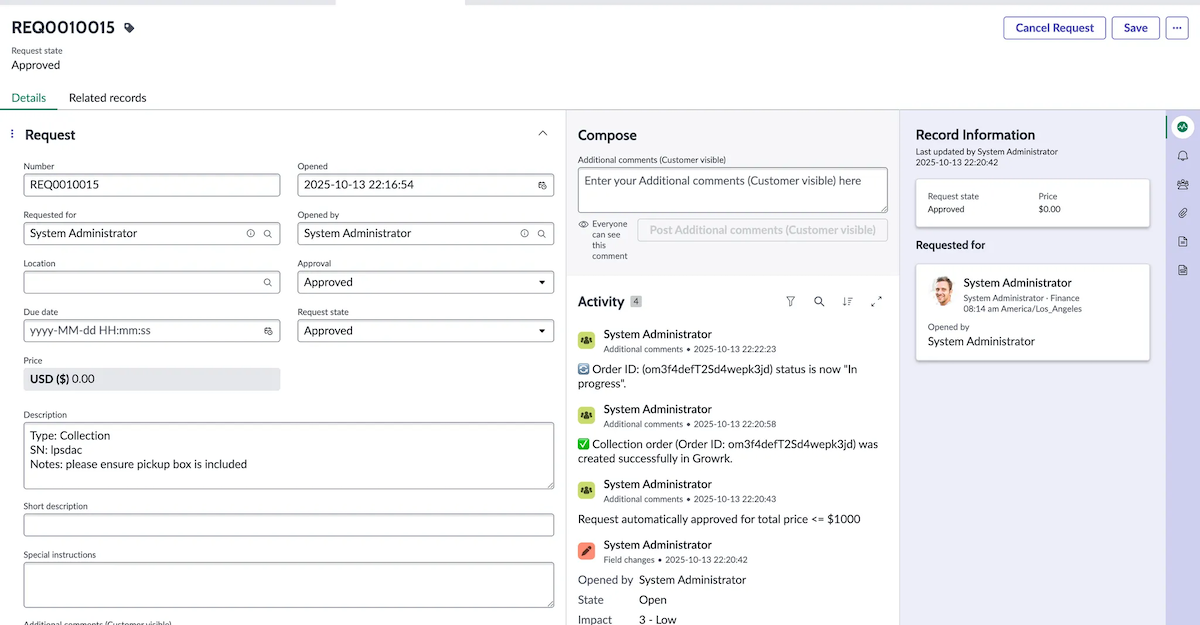
Create a Collection order
- In Open Requests, select New to create a ticket.
- In the description, include the following fields:
- Required: Type (order type), SN (Serial number)
- The Type field must written as Collection.
- If there are multiple products in the SN field, divide serial numbers with commas.
- Optional: Reason, Address Type, Notes
- The Reason field is for providing context for the order. For example, “Collecting equipment after role change”.
- The Address Type field can be written as Delivery (the employee’s default address) or Temporary (the employee’s saved temporary address)
- Required: Type (order type), SN (Serial number)
- Select Save.
- Add the GroWrk tag.
- Back in the menu, select Execution Logs. Check the logs to confirm the flow shows a successful run.
- If the execution logs show no errors, your order has been successfully placed. You’ll see the outcome, success or failure, in the Additional comments field.
Disconnect
- To disconnect the integration, navigate back to Configuration.
- Set the
x_growrk.enabledproperty tofalse. - In the menu, search and select Local Update Sets.
- Select GroWrk Integration, then select Back Out.
Resync
The ServiceNow integration automatically resyncs every 24 hours.