Platform Onboarding
The onboarding process covers two sections: Your Company and Your Employees. Use the link in your email invitation to set up your GroWrk account and activate your company Dashboard.
Your Company: Company Activation
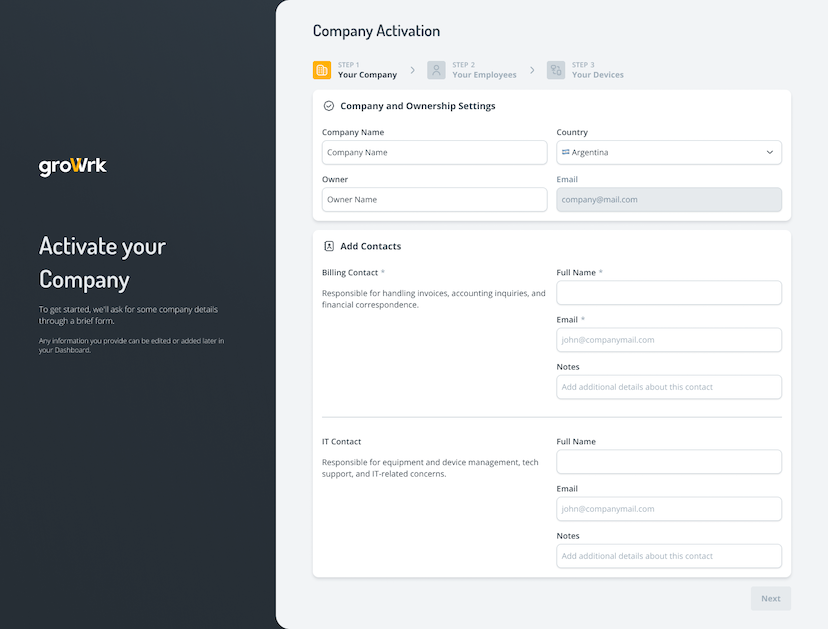
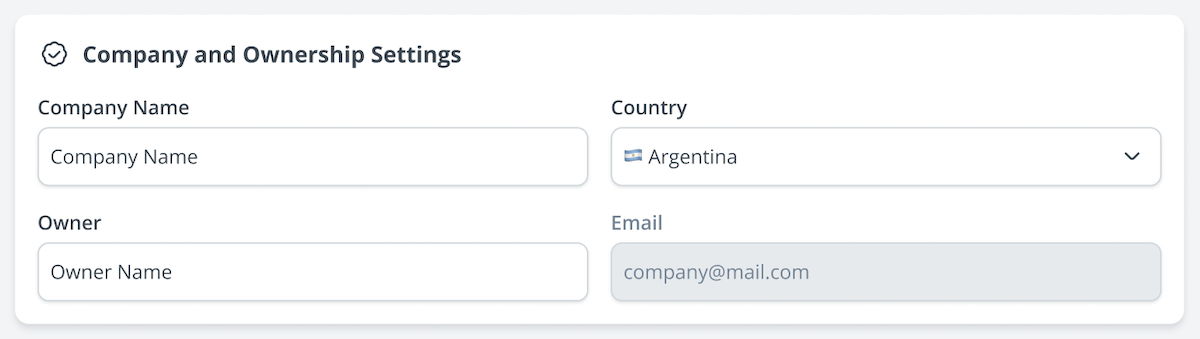
- Fill out the Company Ownership and Ownership Settings section. Enter your company name, country, owner name. Your email will be prefilled.
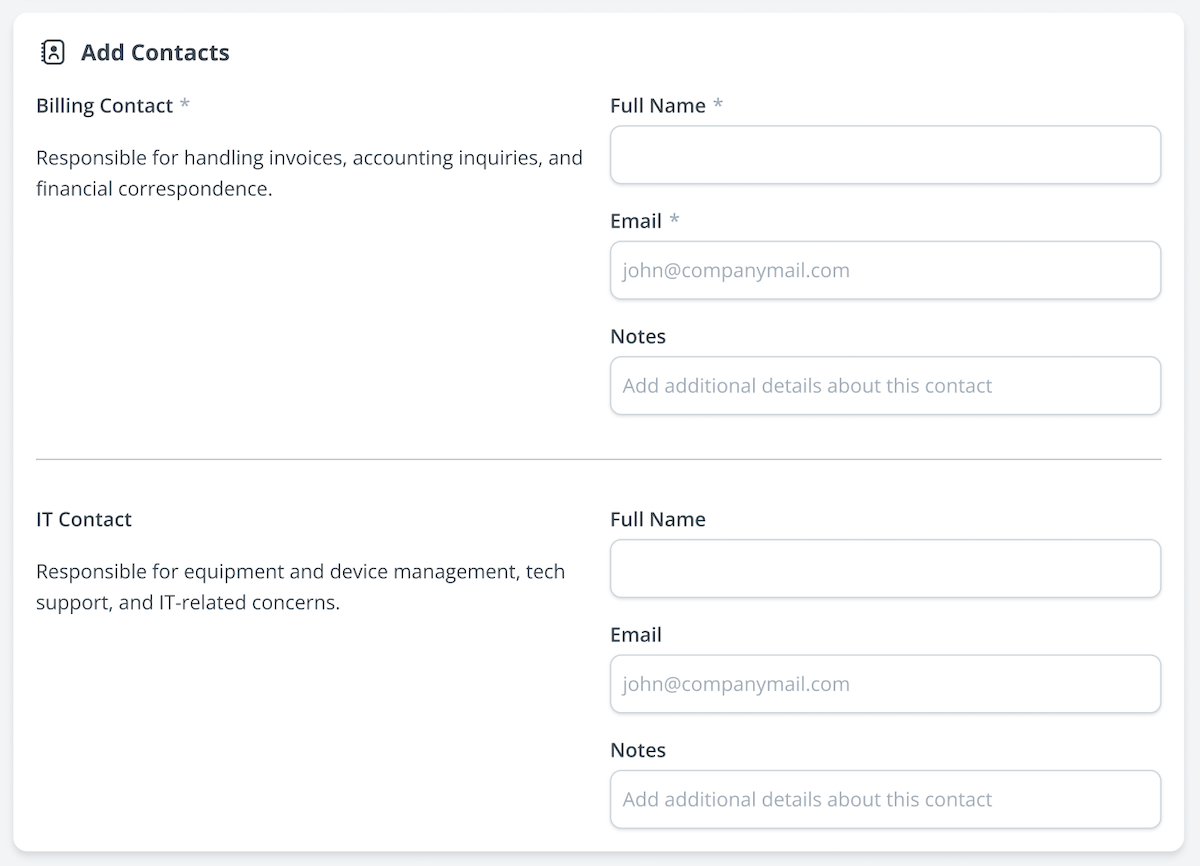
- Add the contacts of relevant company employees, such as your billing and IT contacts.
Your Employees
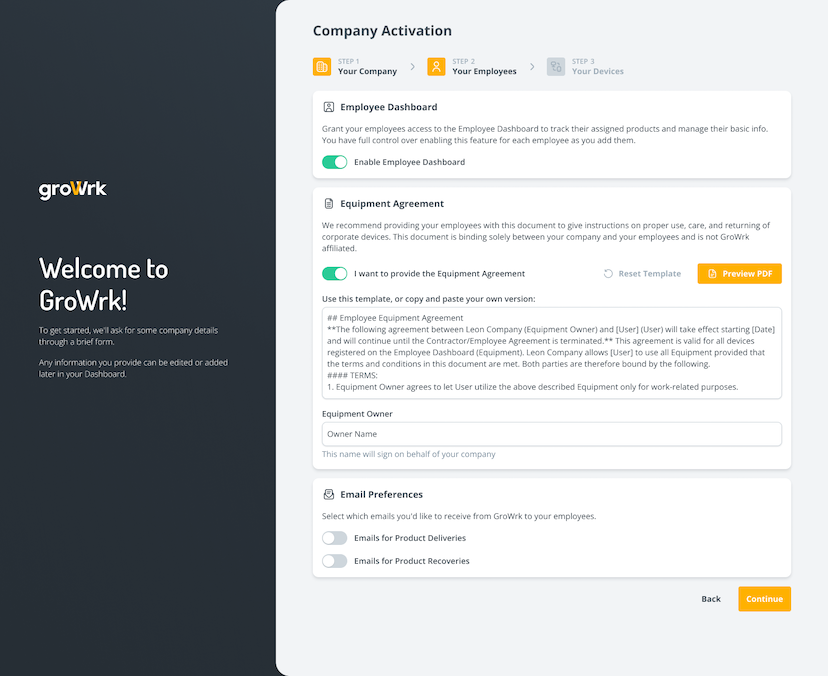
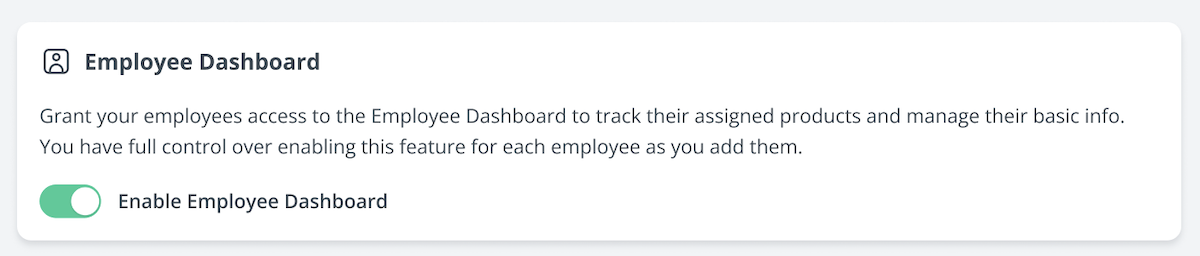
- Select whether to give your employees access to the Employee Dashboard. An email invitation will be sent upon adding employees into your GroWrk Dashboard.
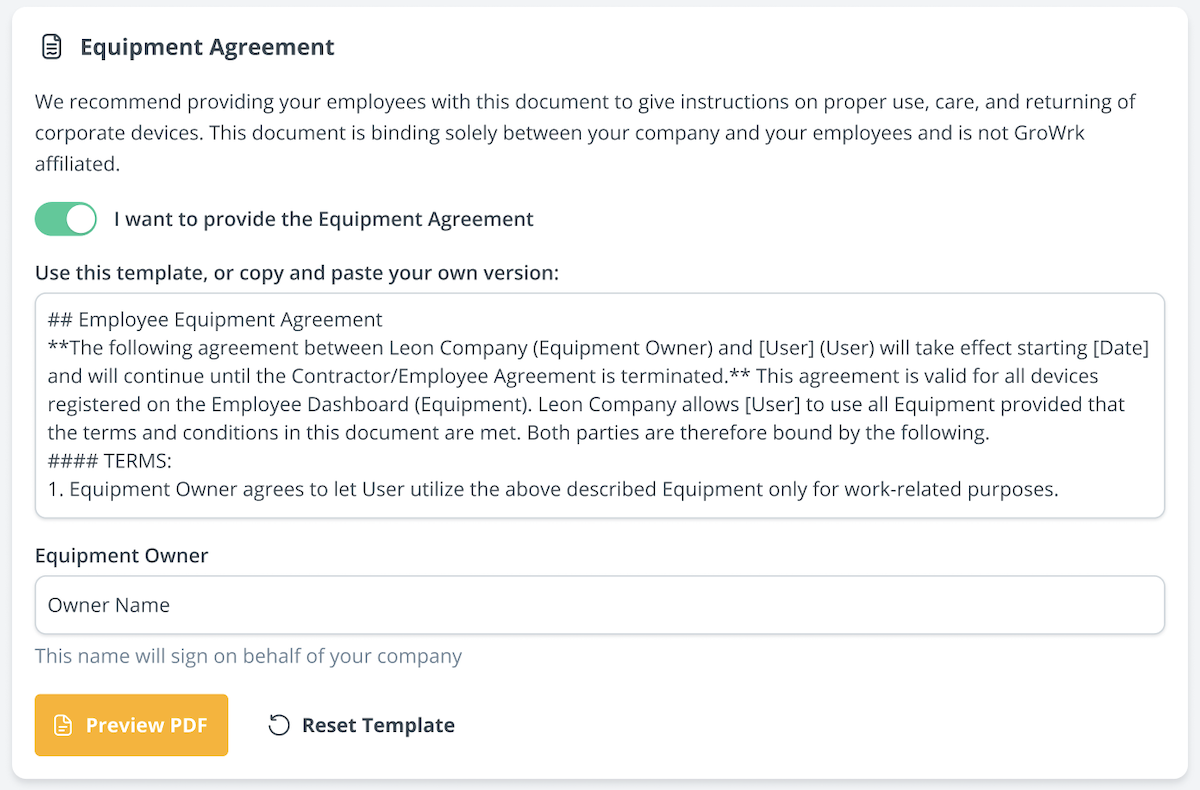
- Select whether to provide an Equipment Agreement to your employees. You may copy and paste your own customized template, or use our template.
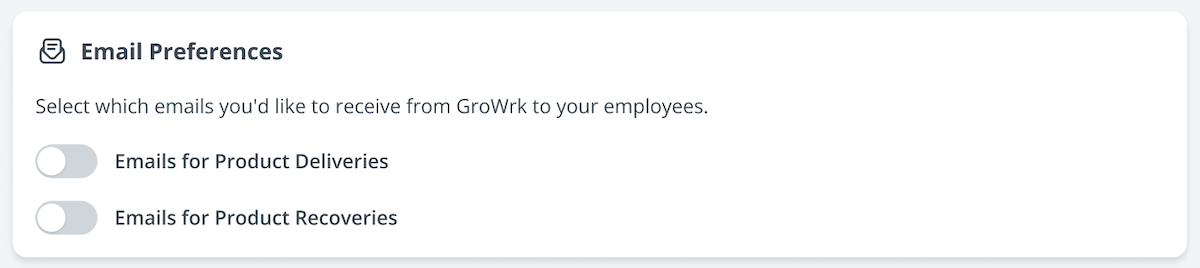
- Select your email preferences. Choose whether to be CC'd on employee emails for recoveries and deliveries.
- Select Finish Activation to complete your onboarding.