Creating and Assigning Packages
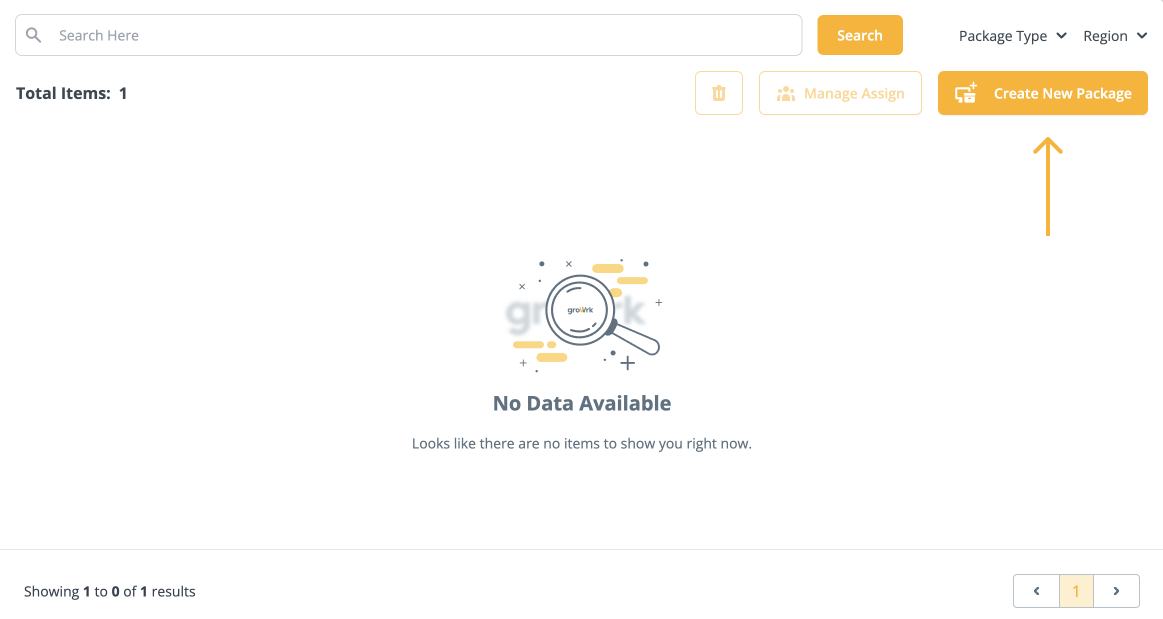
To create a package, start by clicking on the Packages tab in the navigation bar. Then click on Create a New Package.
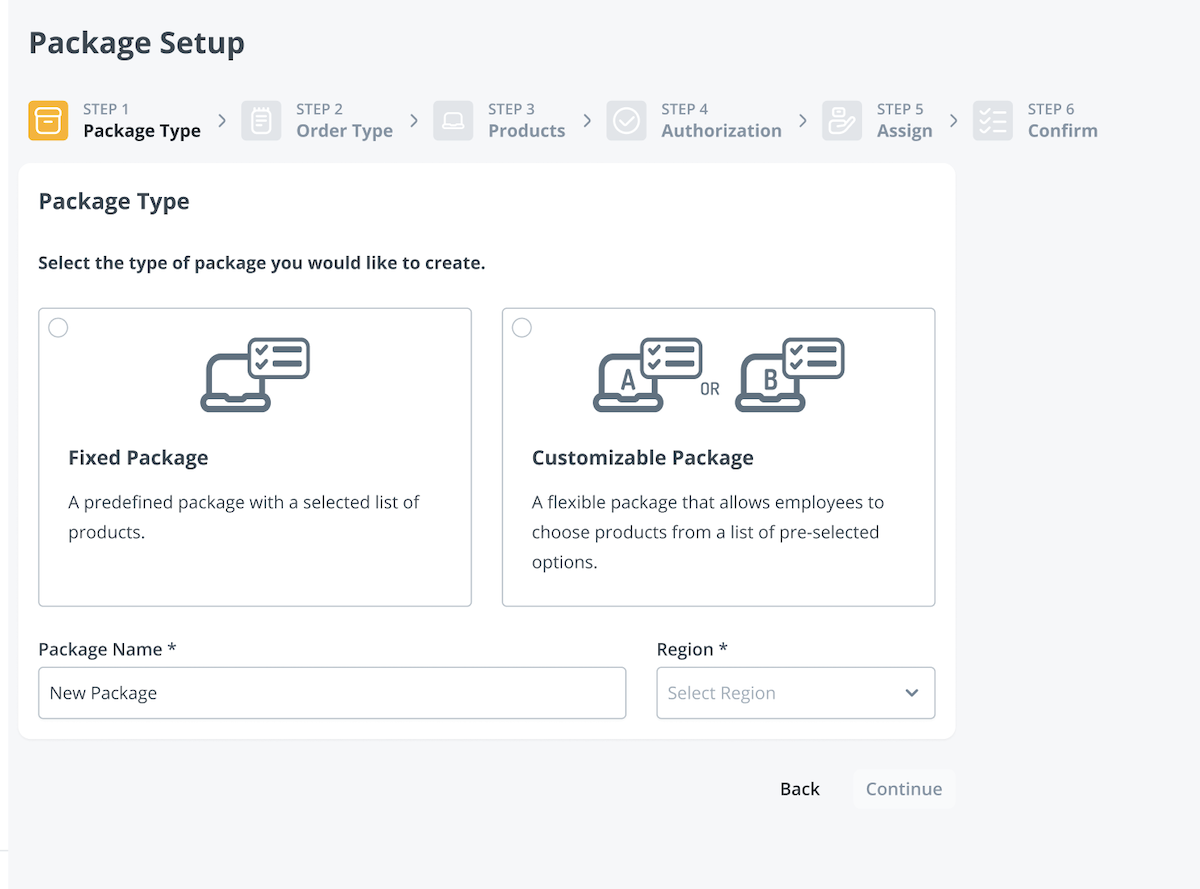
Step 1: Package Information
First choose whether to create a Fixed or Customizable package. After the choice is made, name the package and select which region it will be for.
Fixed Package: You decide what products your employees get in their package.
Customizable Package: The employee chooses their products from a list of options provided by you. (Only available if the Employee Dashboard is enabled)
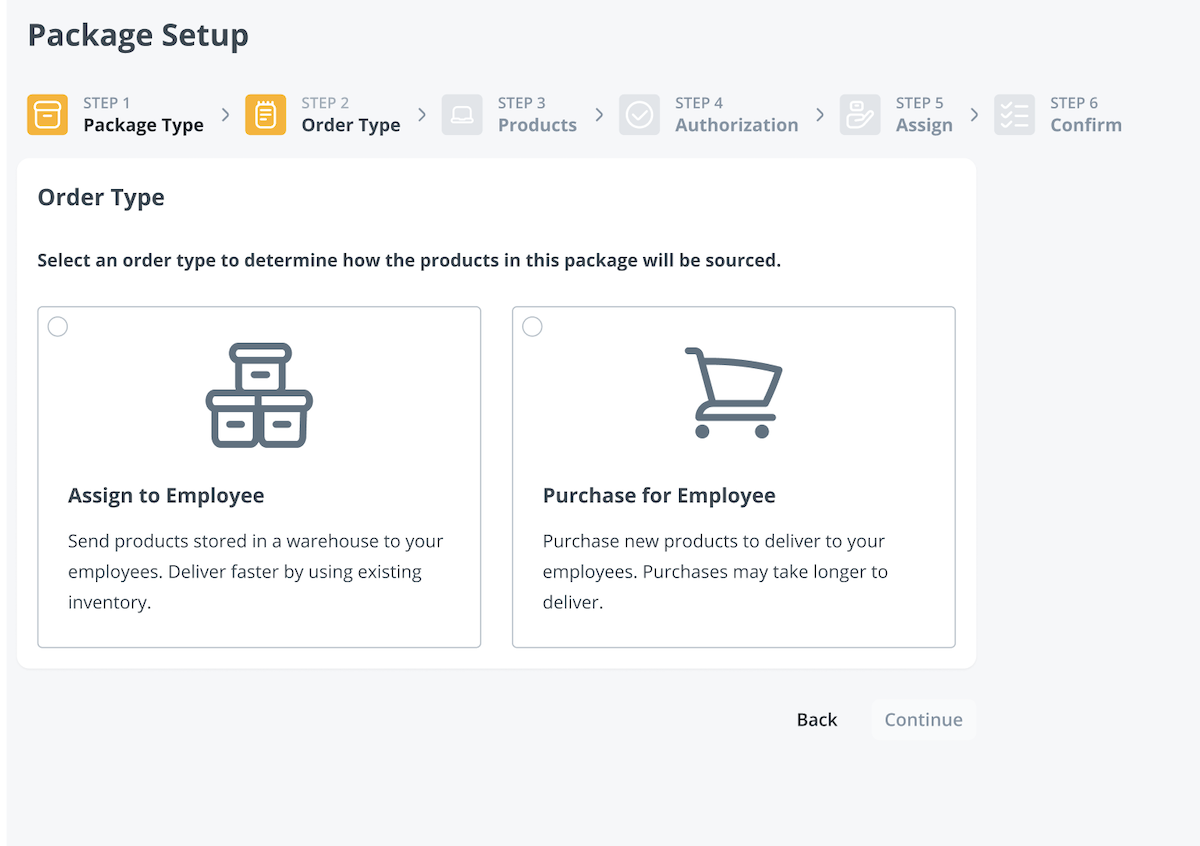
Step 2: Inventory Usage
You will then select an order type to determine how product in the package will be sourced, from your already existing company inventory, or if new purchases will be made for every order.
Deployment:
- Products that have been in inventory the longest will be prioritized to be sent out first to ensure constant rotation.
- Products in inventory will take less delivery/shipping time.
- Order type: Deployment
Purchase for Employee:
- Packages will consist of newly ordered products every order, not products in inventory.
- Order type: Purchase for Employee
Step 3: Selecting Products
You will then select what products the package will consist of. To select products for a new package, the experience differs slightly depending on the Package Type (Fixed or Customizable) and the Order Type (Deployment or Purchase for Employee).
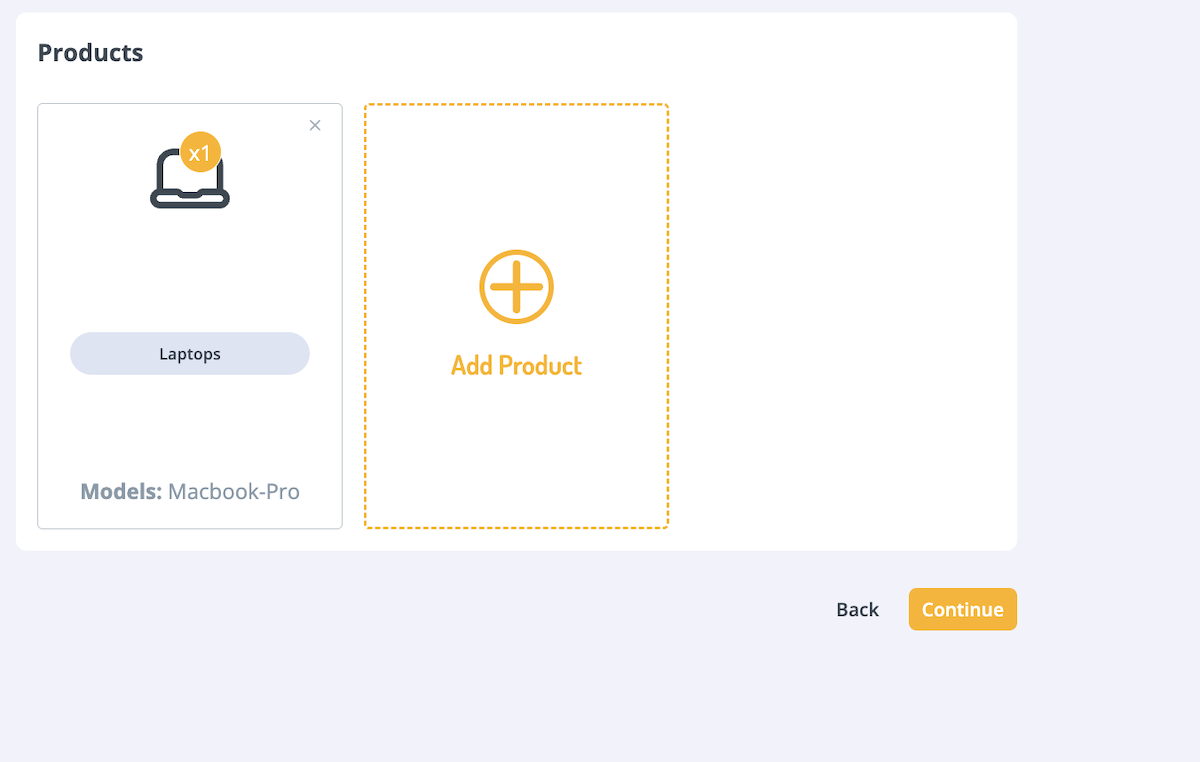
Fixed Package, Deployment
- Choose the product type, models, specs, and quantity. Save the product type details.
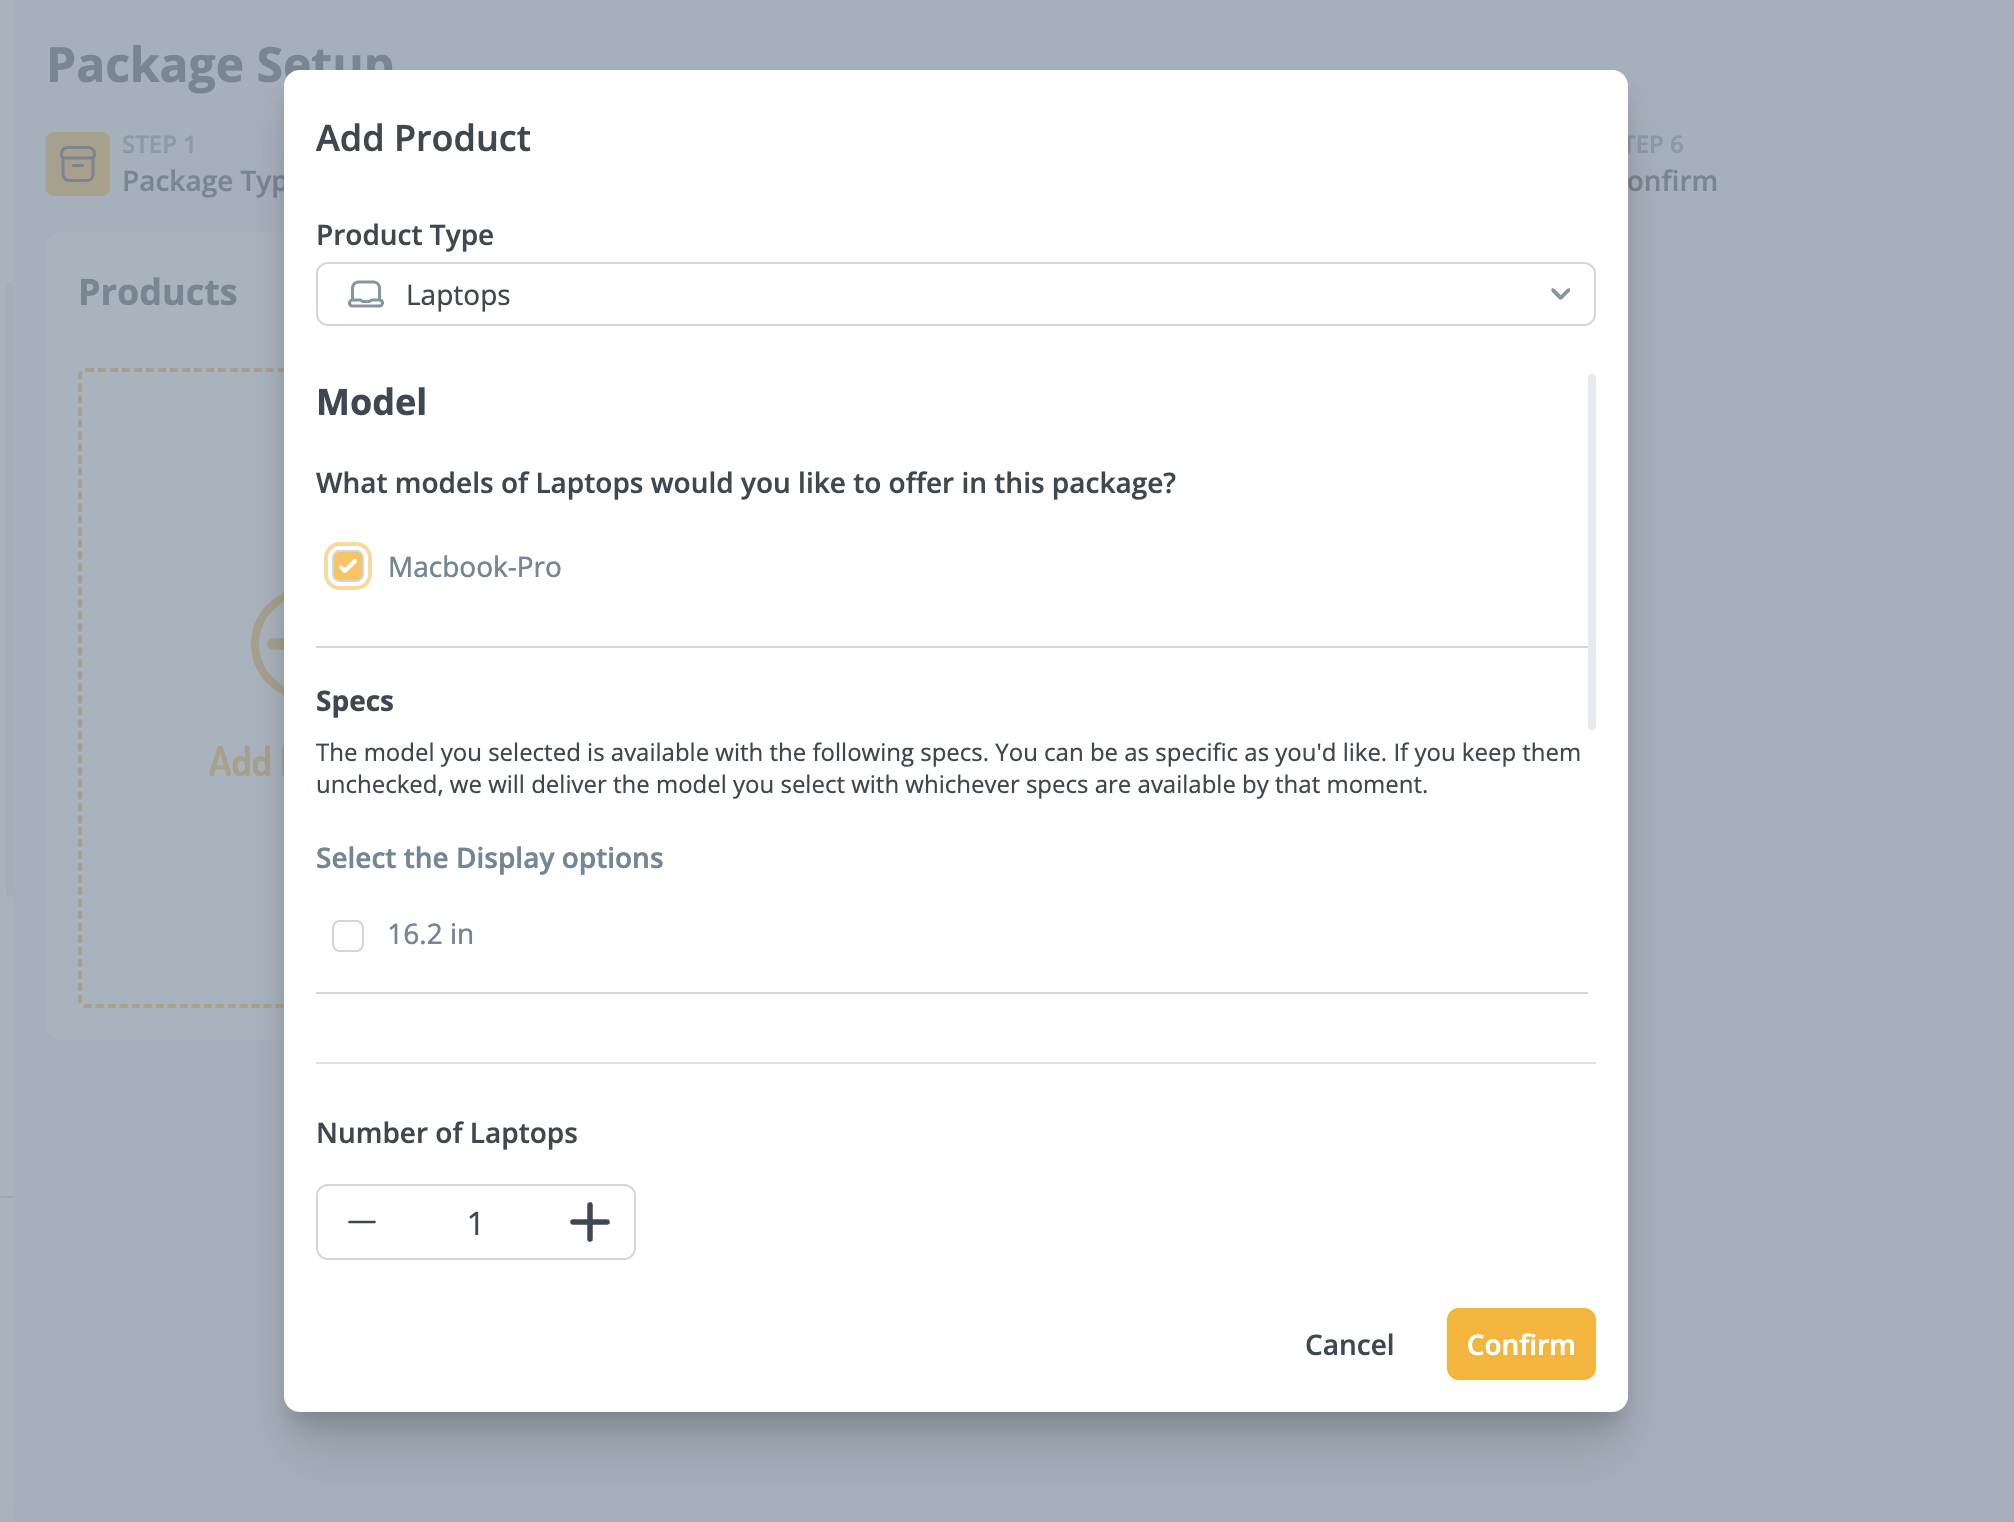
- Additional product types can be added to the package.
Fixed Package, Purchase for Employee
- Choose the product type, product, and quantity. Detailed product cards with images will be shown.
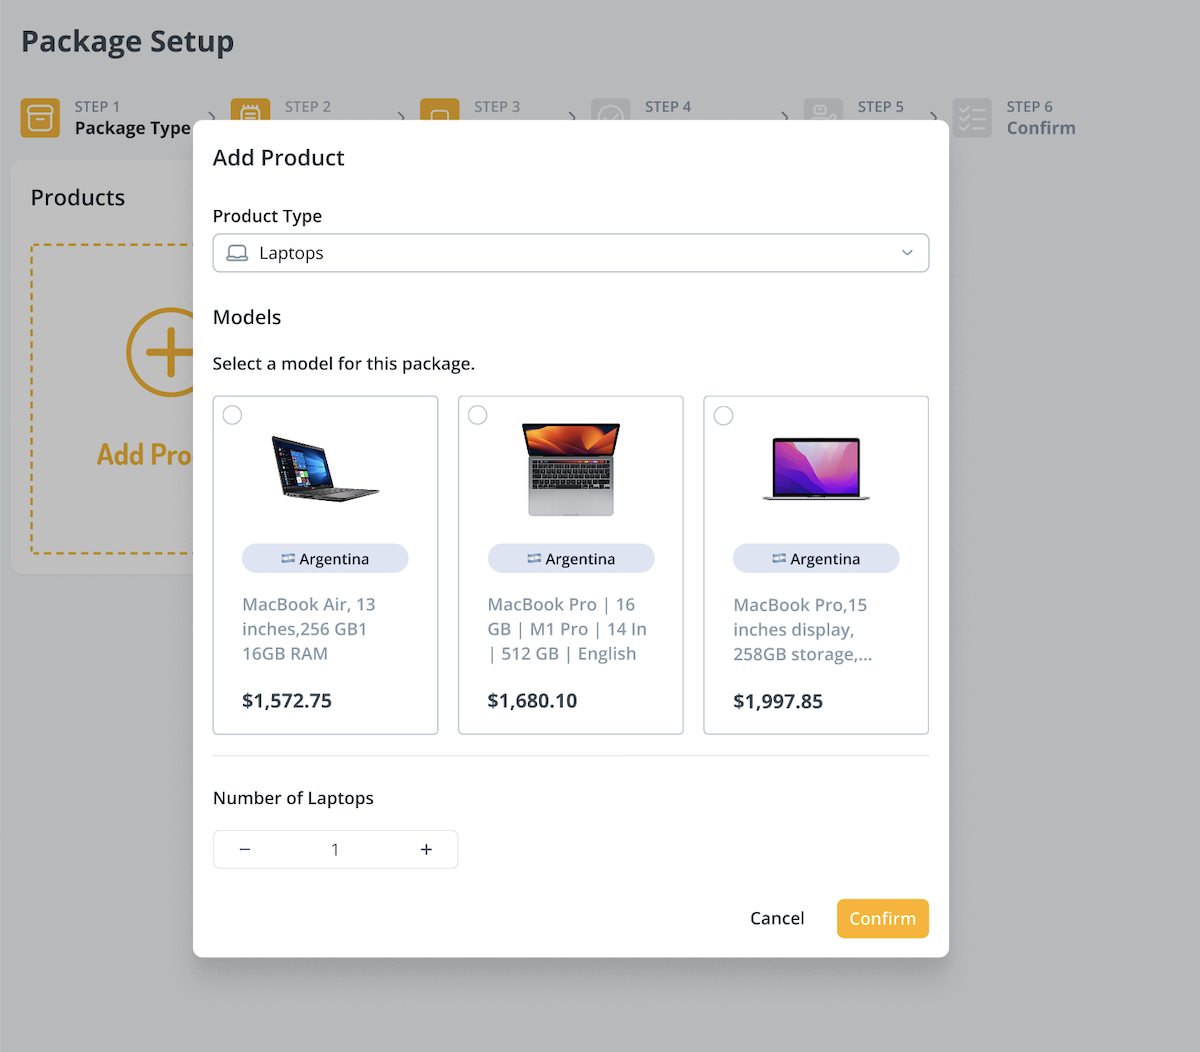
- Additional product types can be added to the package.
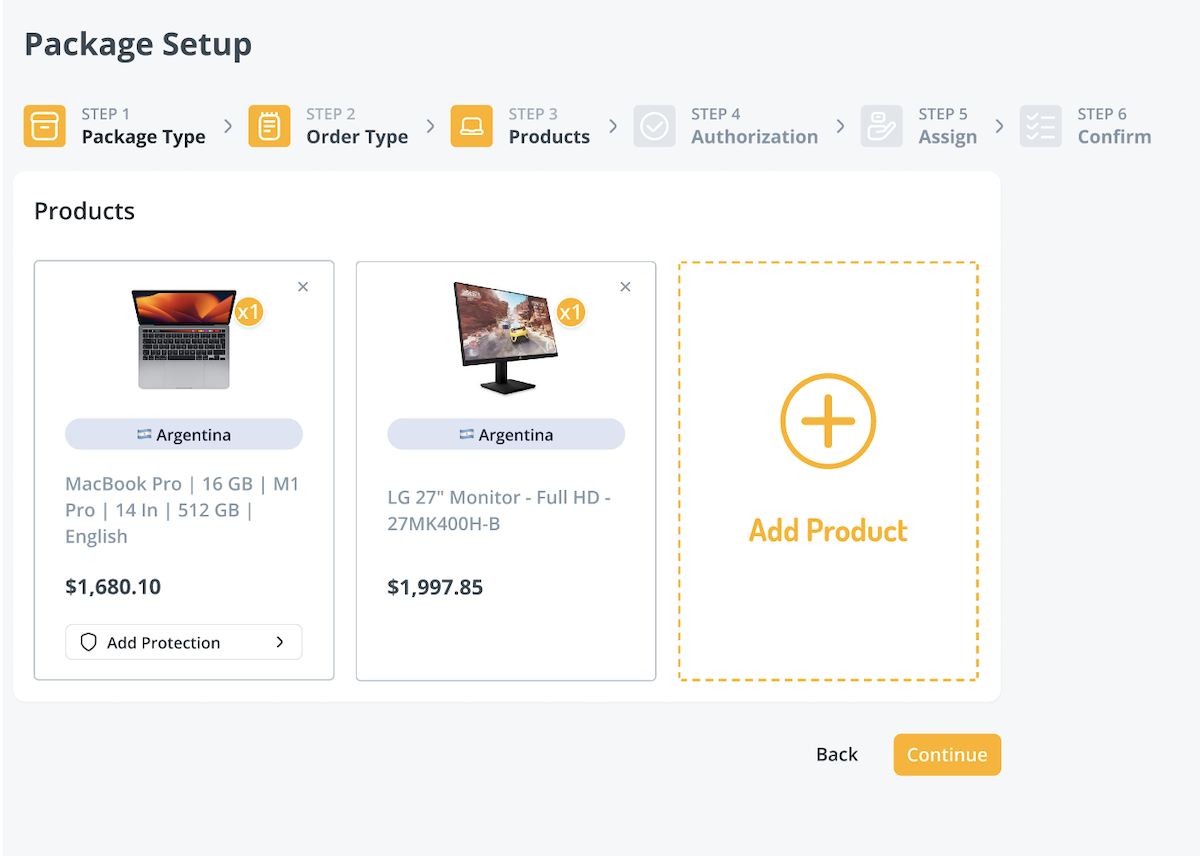
- If applicable, you can add protection plans to the products. Select Add Protection to view the available plans. Listed prices are based on recent sales history. If a price is marked as TBD (To Be Determined), it indicates that the specific plan has not been purchased recently. The selected plan will be quoted along with the product for your approval.

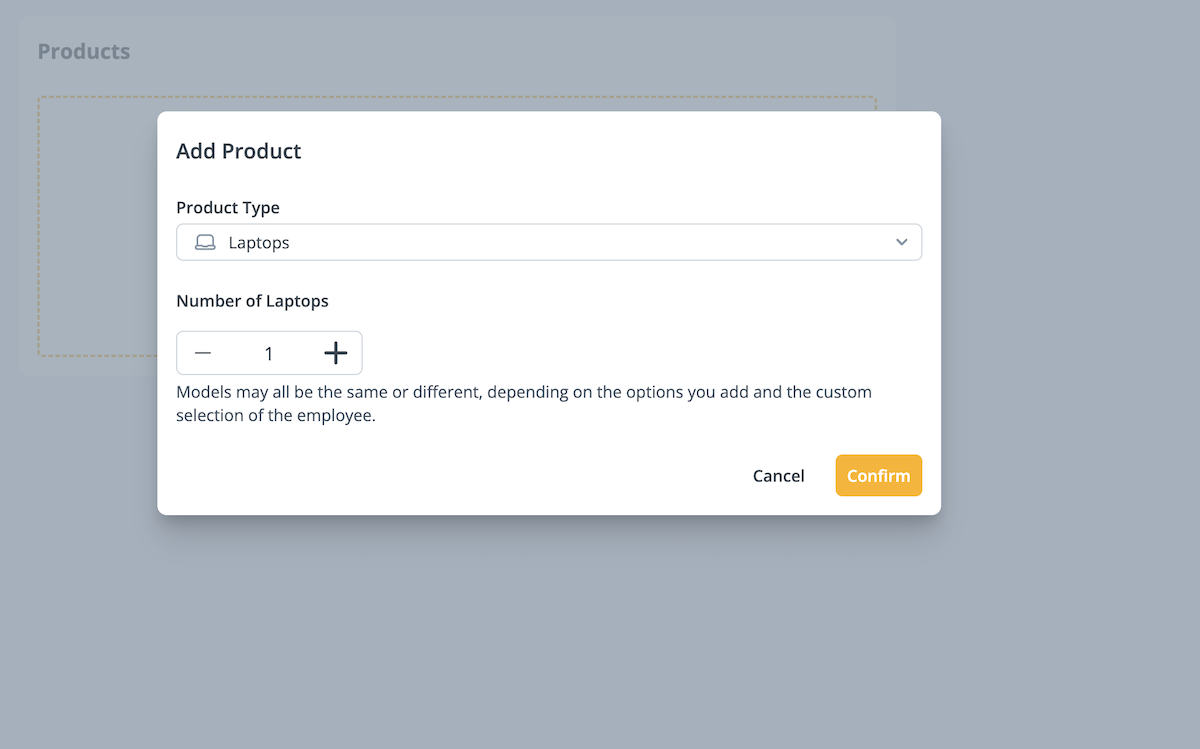
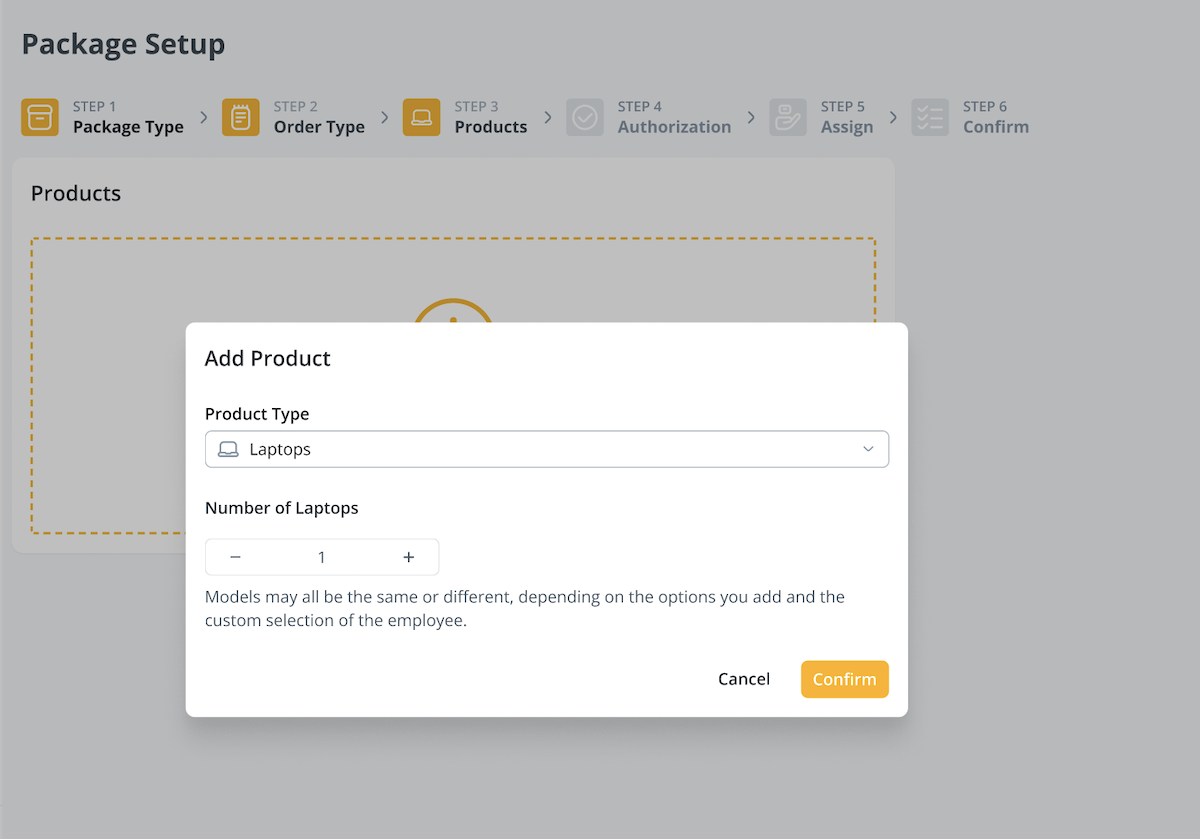
Customizable, Deployment
- Add a product type and the quantity. Select Confirm.
- Select Option A and choose options for the product type.
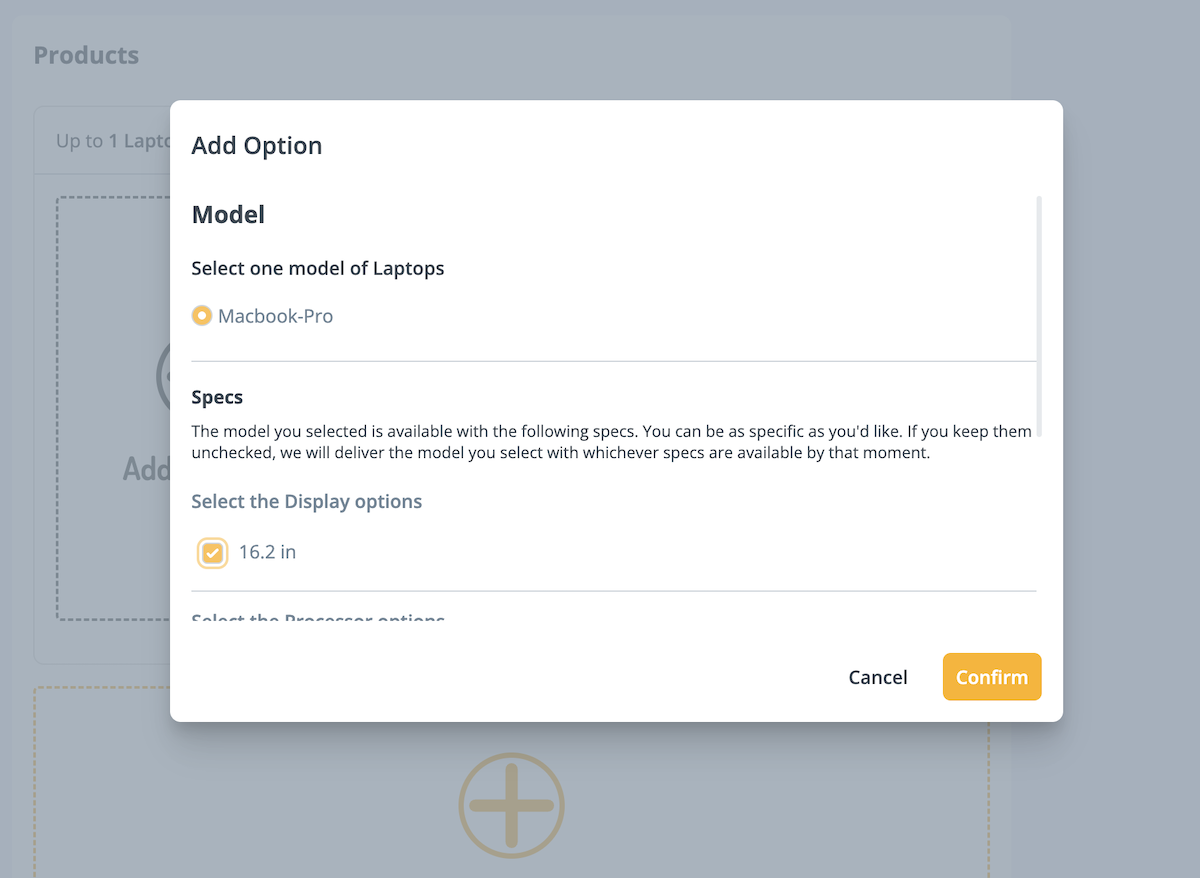
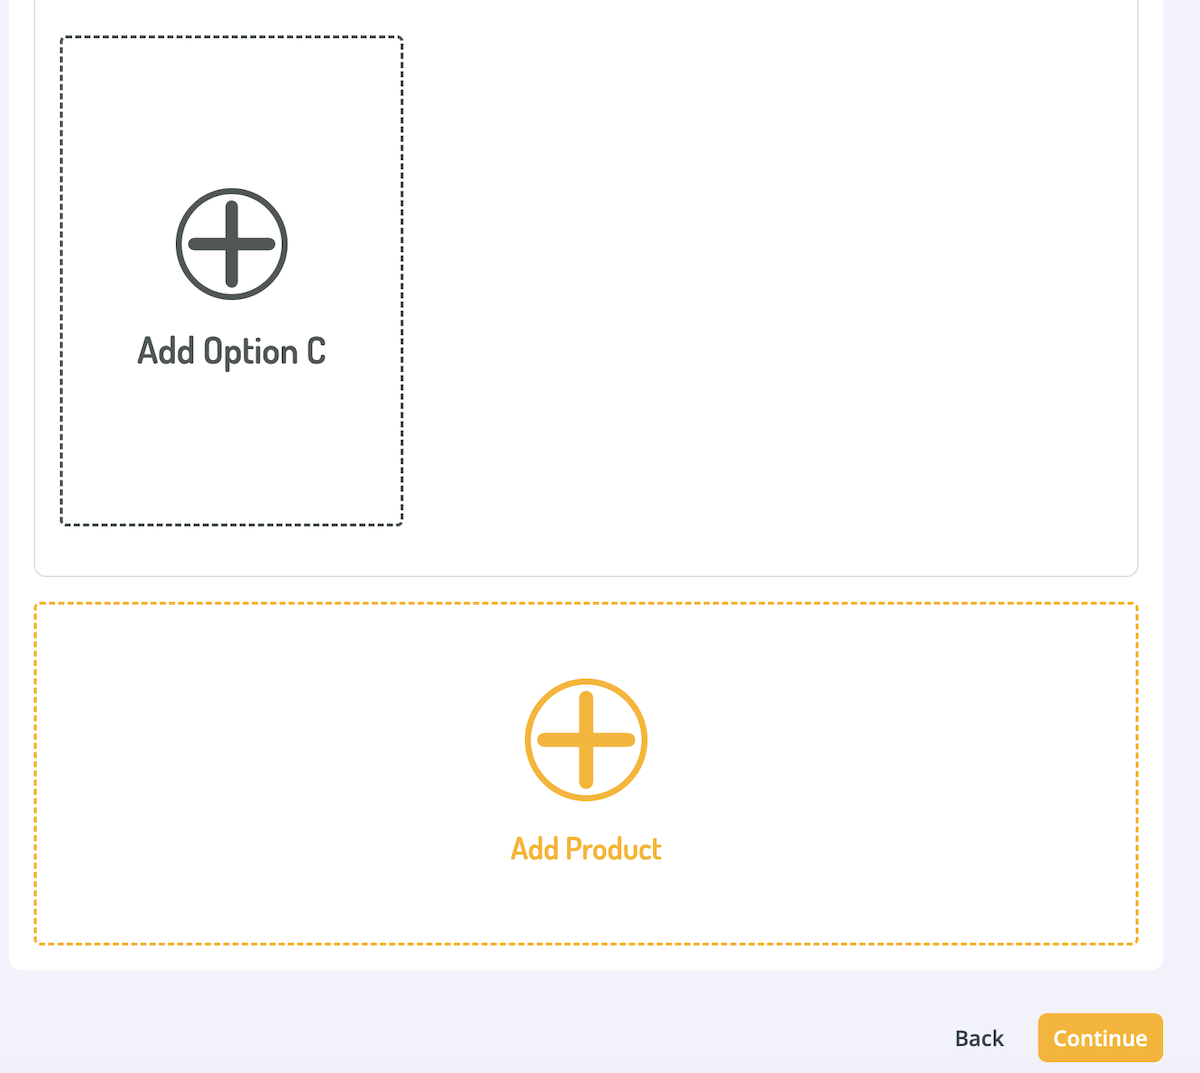
- You can add several options based on spec preferences.
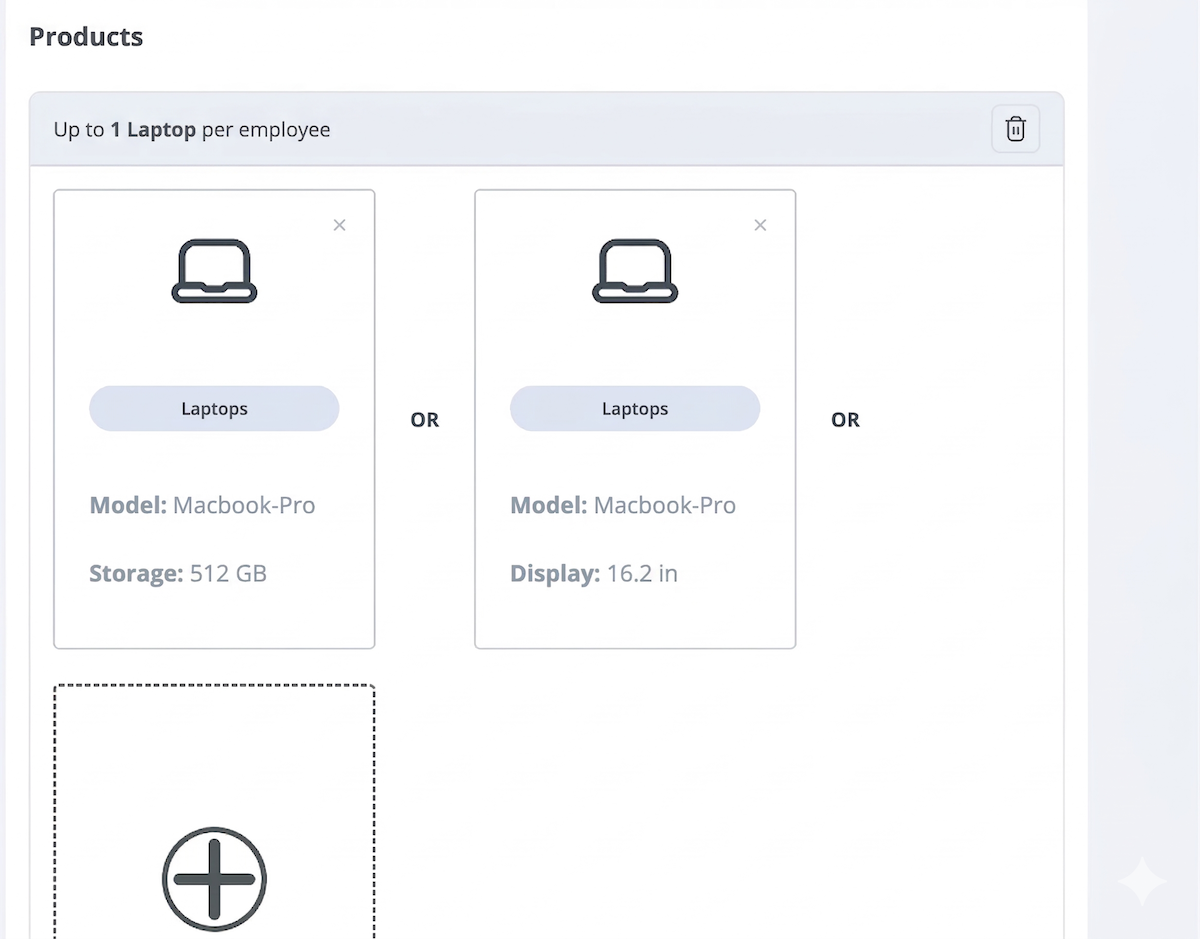
- Select Add Product to add another product type, and follow the same steps above to add options.
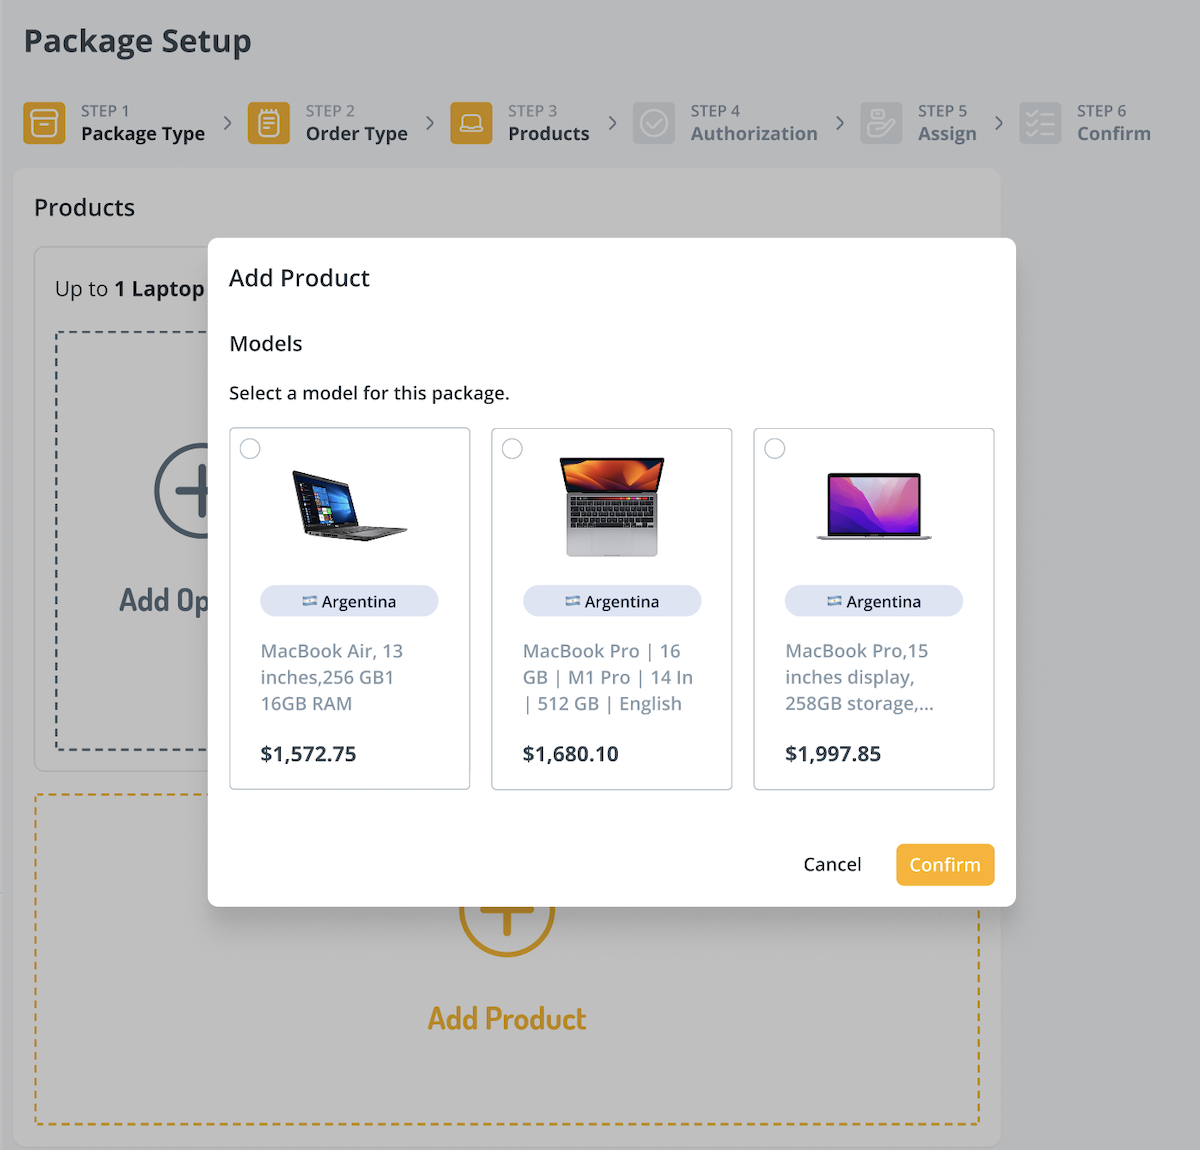
Customizable, Purchase for Employee
- Add a product type and the quantity.
- Select Option A to choose a product model. Add more product options if needed.
- Select Add Product to add another product type, and follow the same steps above to add options.

- If applicable, you can add protection plans to the products. Select Add Protection to view the available plans. Listed prices are based on recent sales history. If a price is marked as TBD (To Be Determined), it indicates that the specific plan has not been purchased recently. The selected plan will be quoted along with the product for your approval.

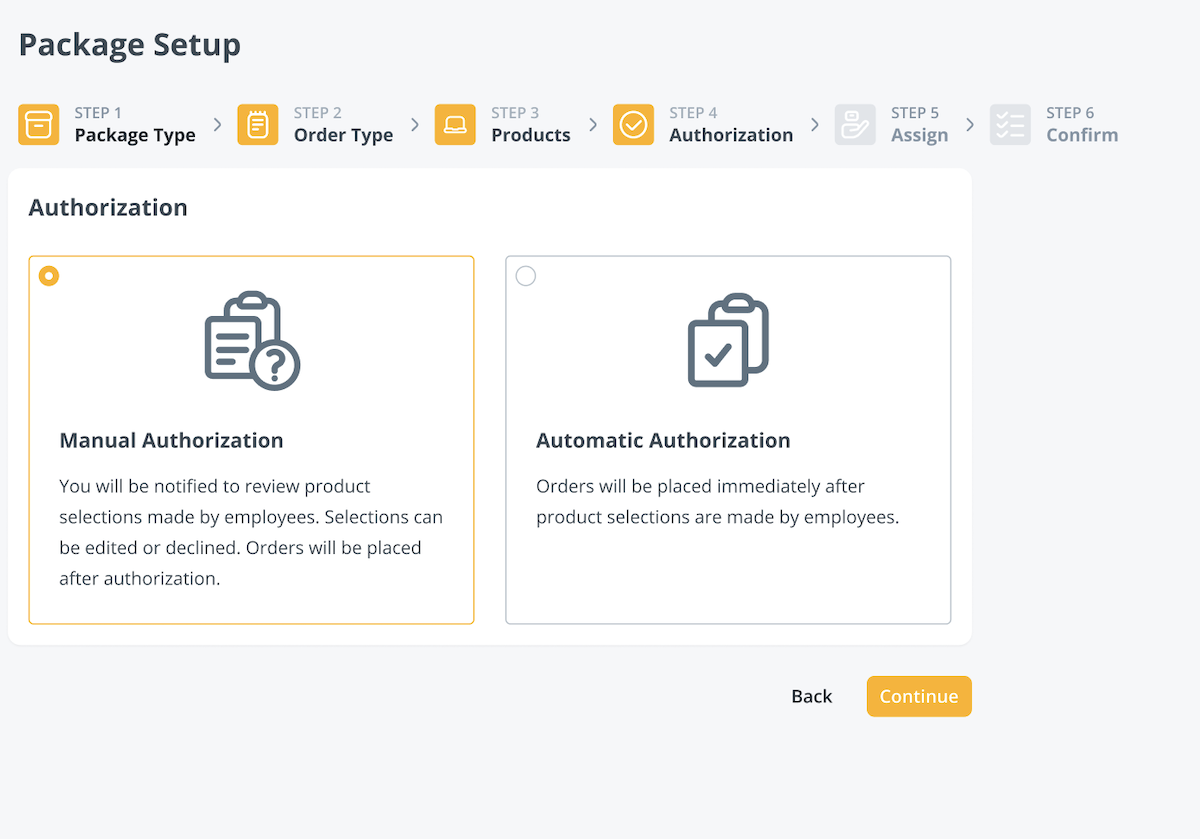
Step 4: Authorizing Packages
Depending on the type of package, there are different authorization procedures for the client.
Manual Authorization:
- You will manually authorize each order by approving or declining the employee’s product choices.
- Customizable packages have both authorization options.
Automatic Authorization:
- Package orders are automatically authorized, and no action is needed on the client’s end.
- Fixed packages are automatically authorized.
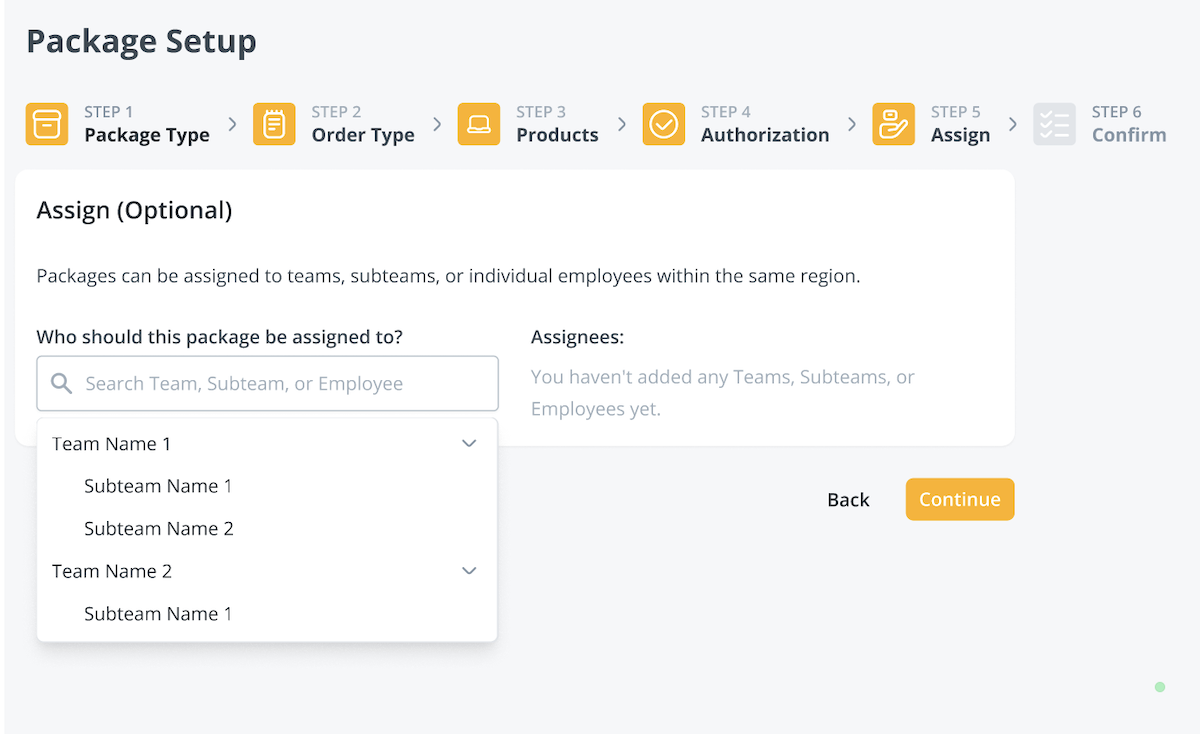
Step 5: Assigning Packages
There are a few ways to assign packages based on who will receive them and when. This step is optional, and packages can be assigned later using the Manage Assign tool.
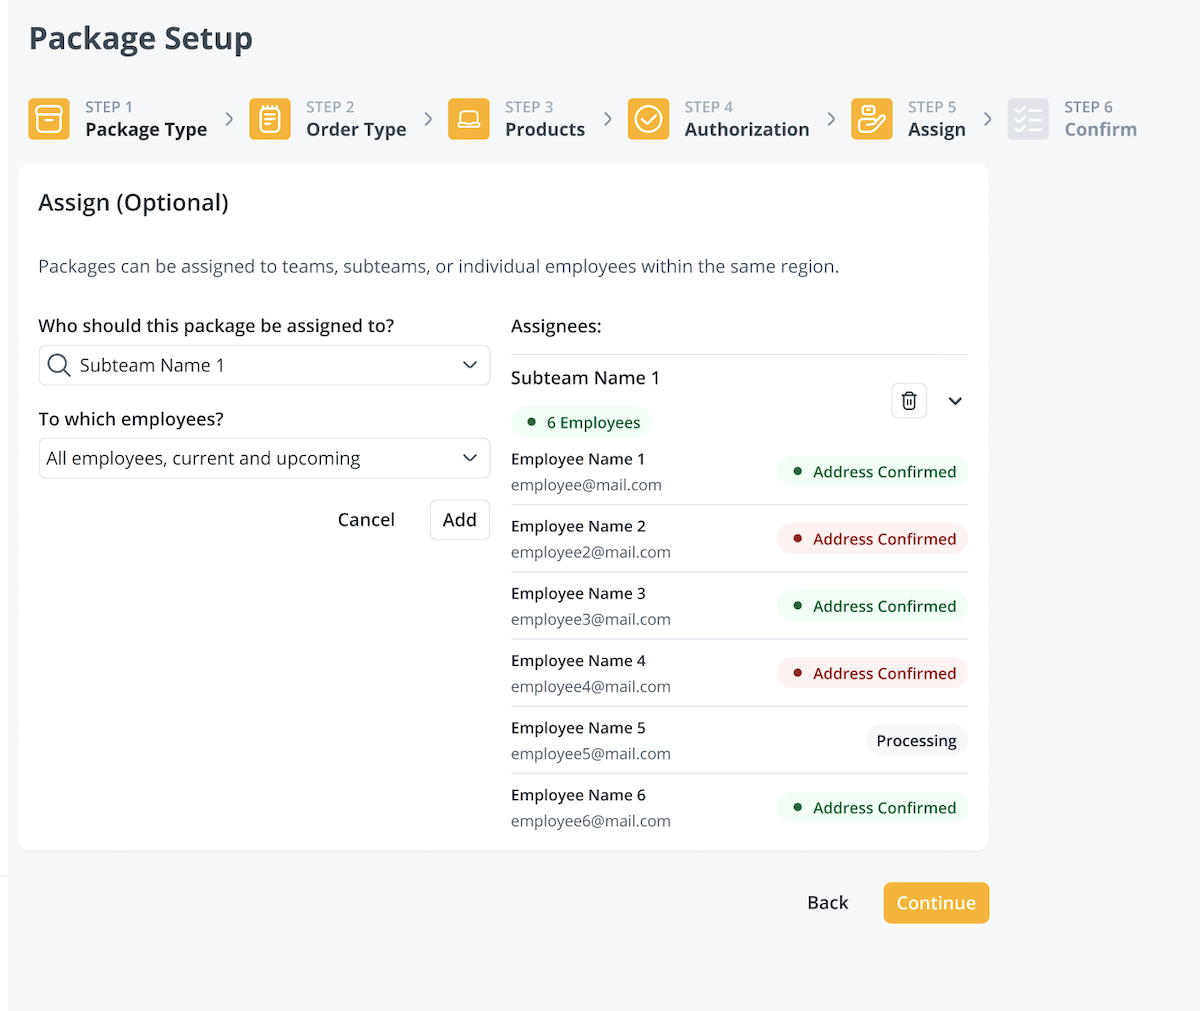
- Start typing the name of a team, subteam, or employee and select the desired one.
- If a team or subteam is selected, choose which employees will receive the package (current and upcoming employees, or upcoming employees only).
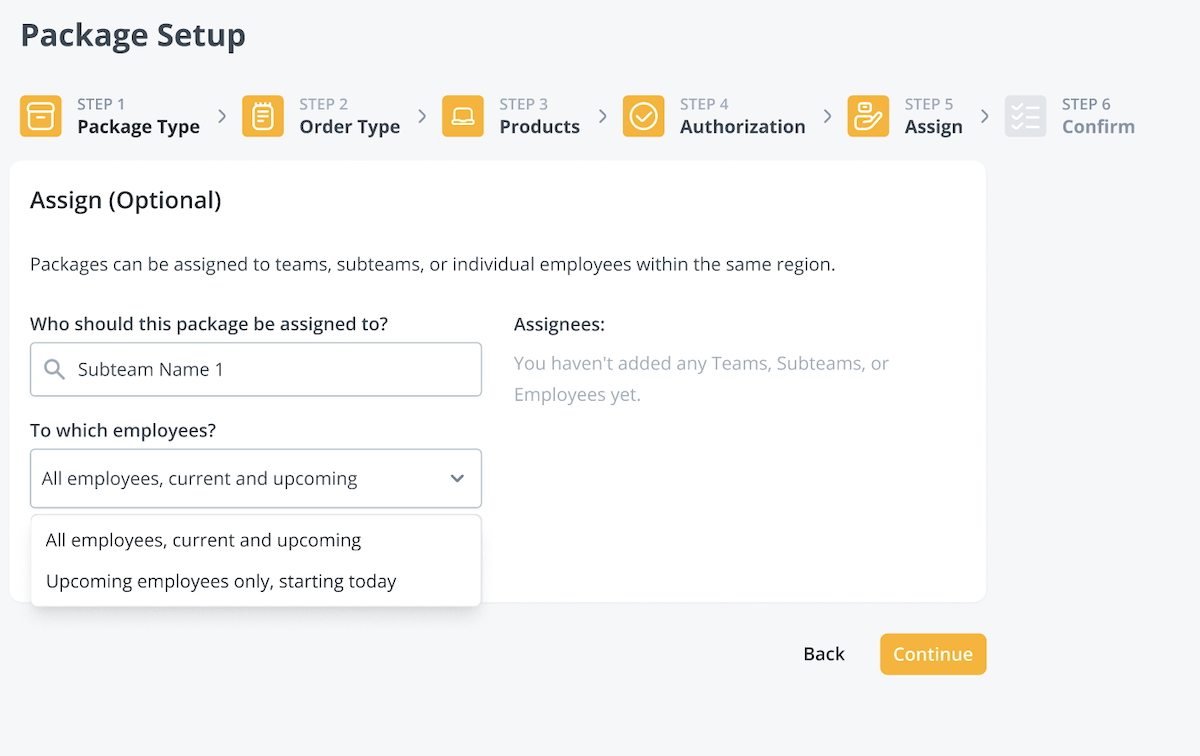
- Select Add.
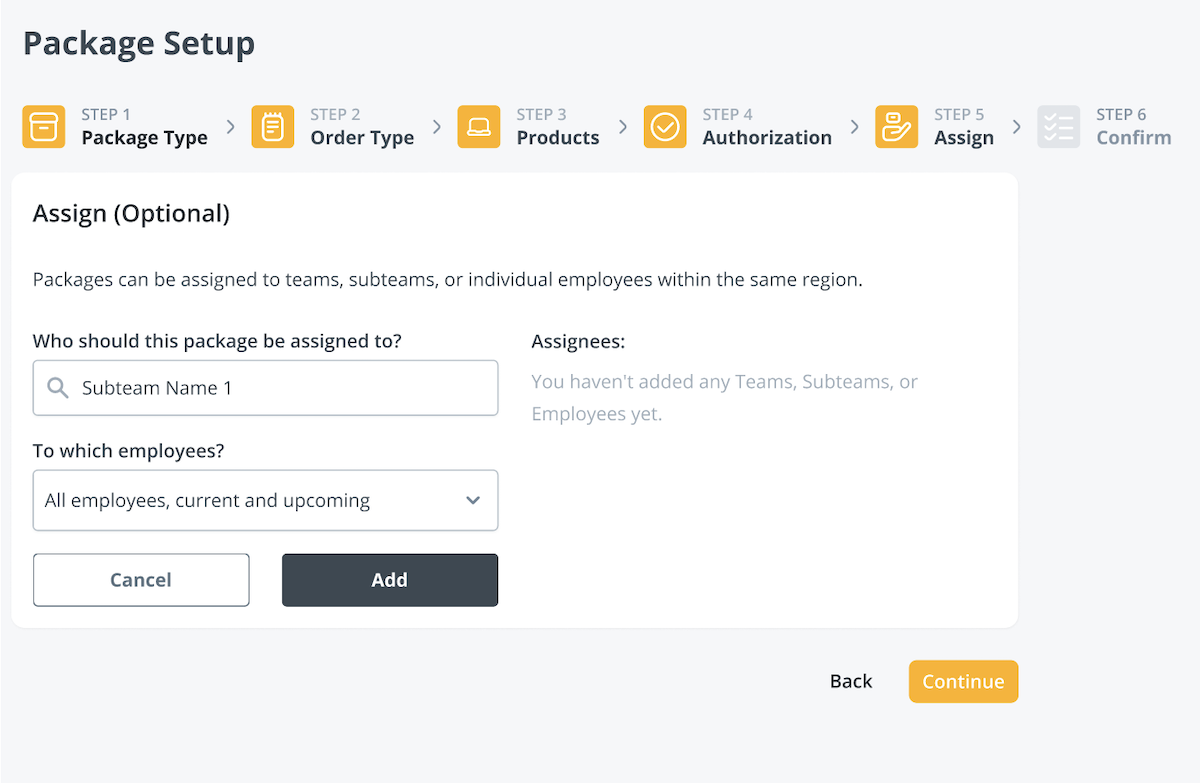
- The names and contact information of the package assignees will be listed to the right.
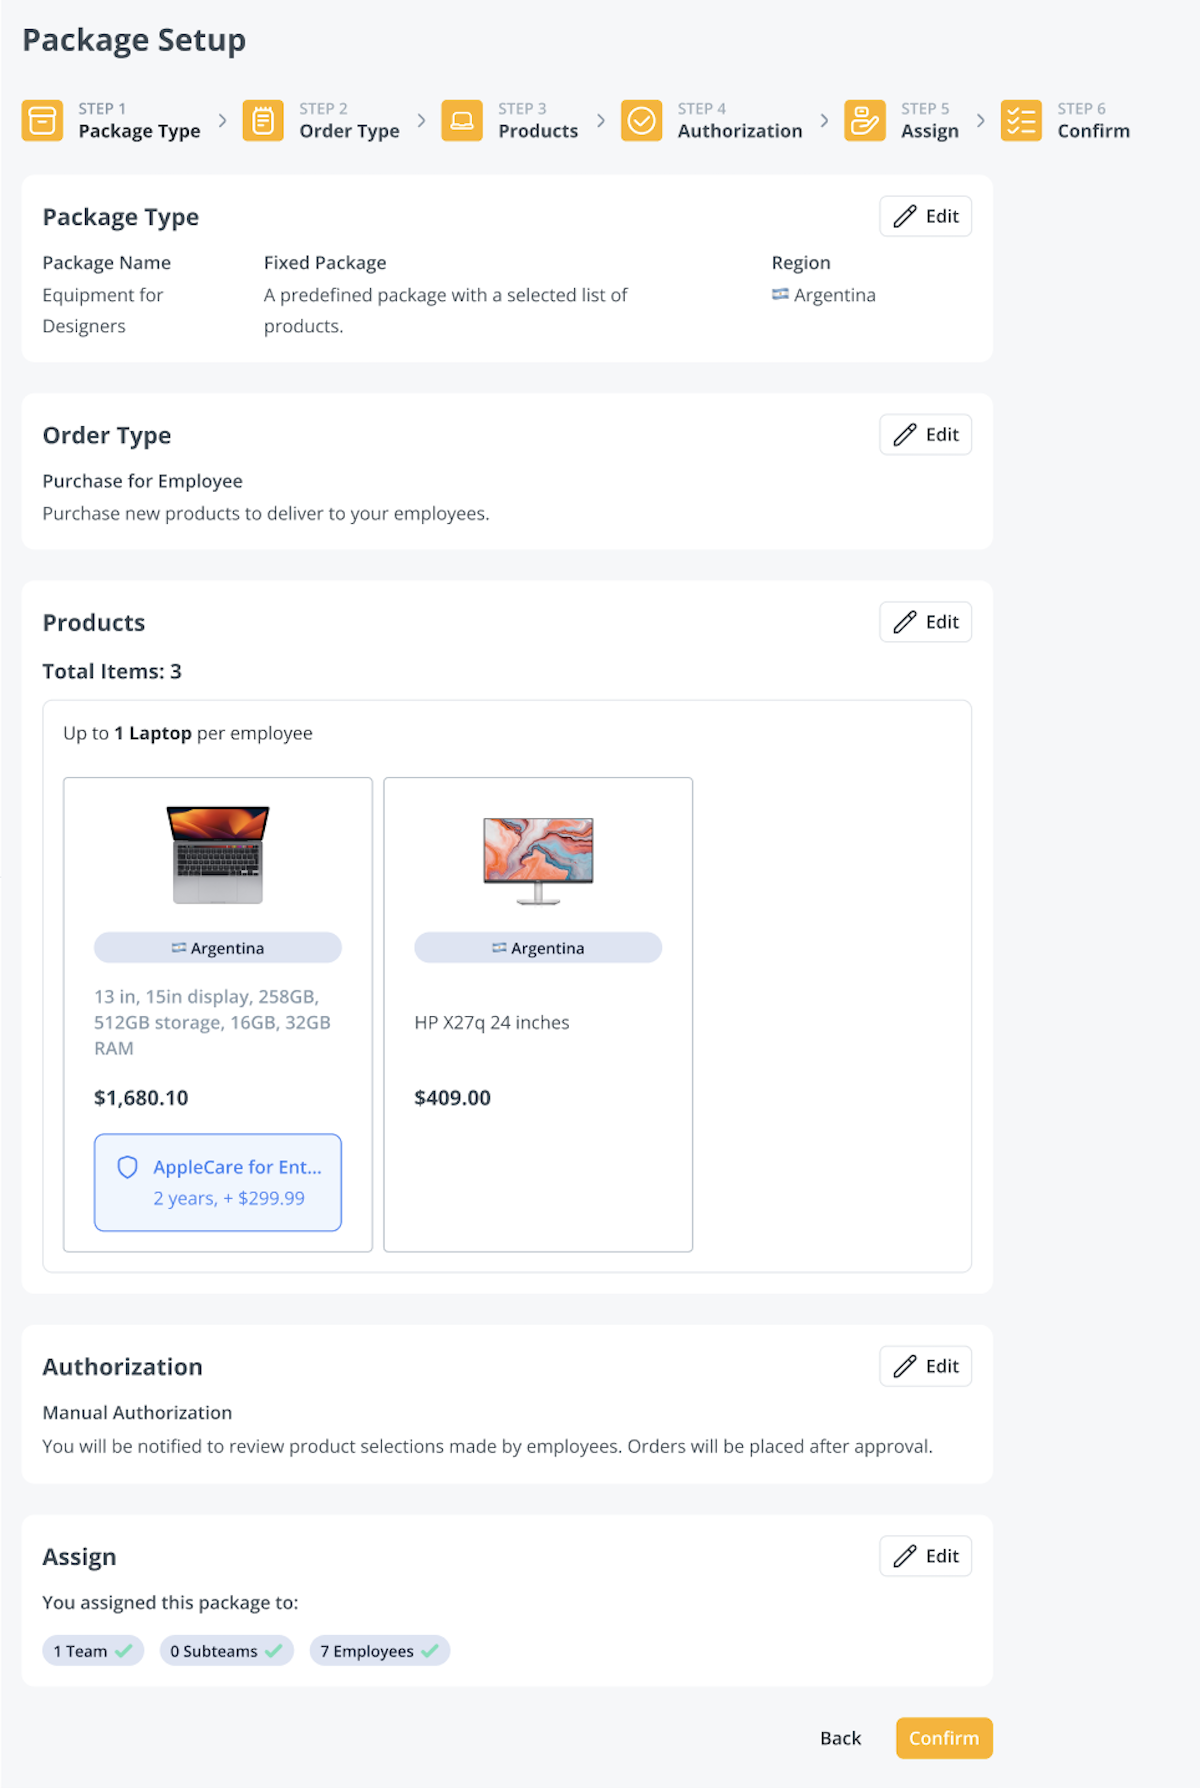
Step 6: Confirm
This is the final step where you can review and confirm all of the information of the package you're about to create. For packages with the Assign to Employee order type, products are listed along with their specs and the number currently available in your inventory. For Purchase for Employee orders, specific product cards will be visible. Select Confirm to create the package.