Okta SSO (SP‑Initiated)
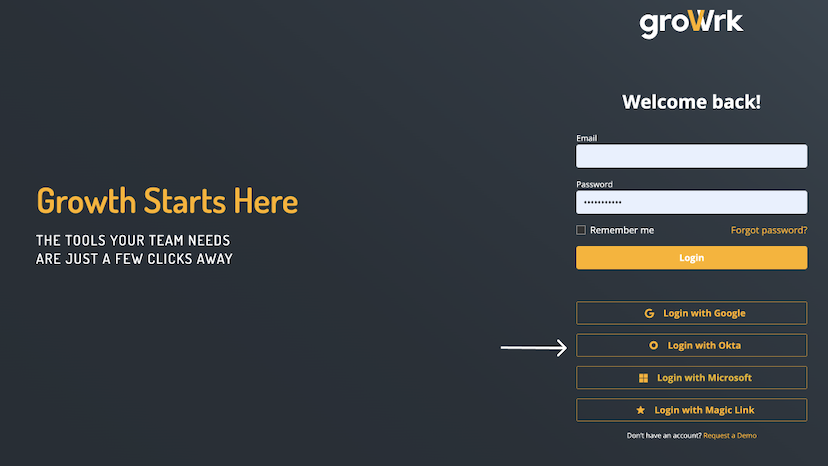
This guide covers the SP-initiated flow, where users begin in GroWrk and select Sign in with Okta.
Supported Features
- SP-initiated SSO (Single Sign-On)
Prerequisites
Before you begin, ensure:
- You have administrator access to your Okta tenant (so you can add the GroWrk SSO apps from the OIN).
- You have administrator access to your GroWrk dashboard, with the Integrations feature enabled. (Contact your Customer Success Manager if you do not see Integrations in your dashboard.)
- The email address used in Okta matches the email address of your users in GroWrk.
What is SP‑Initiated SSO?
- SP‑Initiated Flow: A user visits your GroWrk domain and clicks a “Sign in with Okta” button. GroWrk (the Service Provider) sends a SAML AuthnRequest to Okta. Okta authenticates the user and returns a SAML Response to GroWrk.
- Result: The user is seamlessly logged into GroWrk with their Okta credentials.
Connect Okta to GroWrk
- In the Integrations tab in your GroWrk Dashboard, search for Okta SSO and select Get Started.
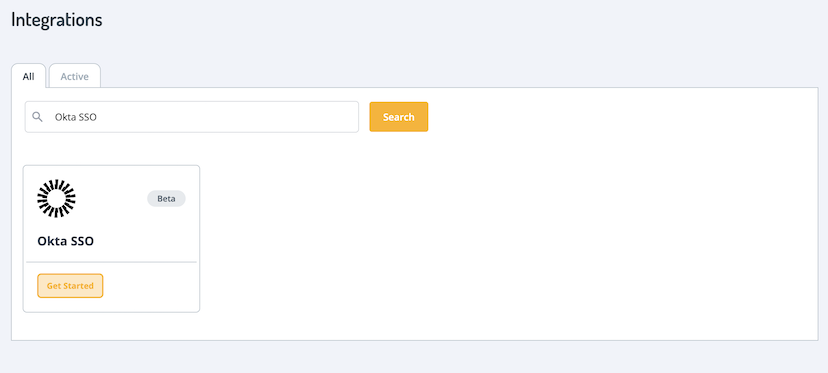
You’ll be directed to the setup page with several steps. 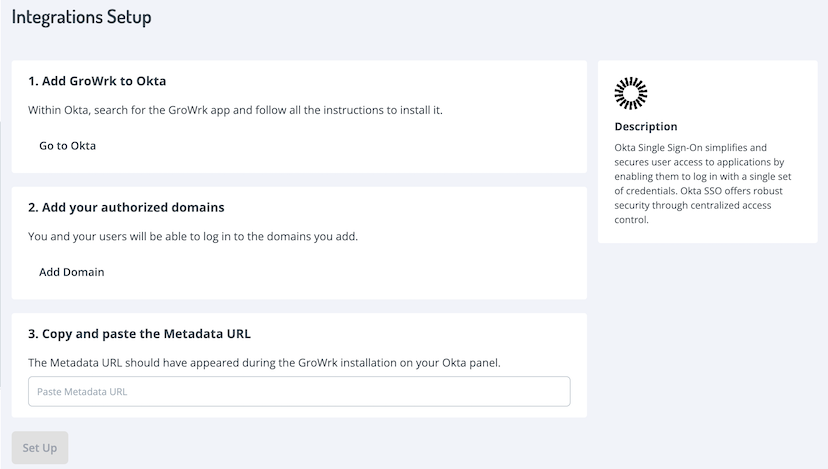
- Add GroWrk to Okta.
- Select Go to Okta and you’ll be redirected to Okta’s website.
- In Okta, search the Okta Integration Network for “GroWrk”.
Tip: You only need to add the integration(s) you plan to use.
- For SP-initiated logins (users start at GroWrk and click “Sign in with Okta”), add GroWrk.
- When you open one of the GroWrk SSO apps in Okta, select Add Integration.

- Set your general settings (application label, visibility, etc.) and select Next.

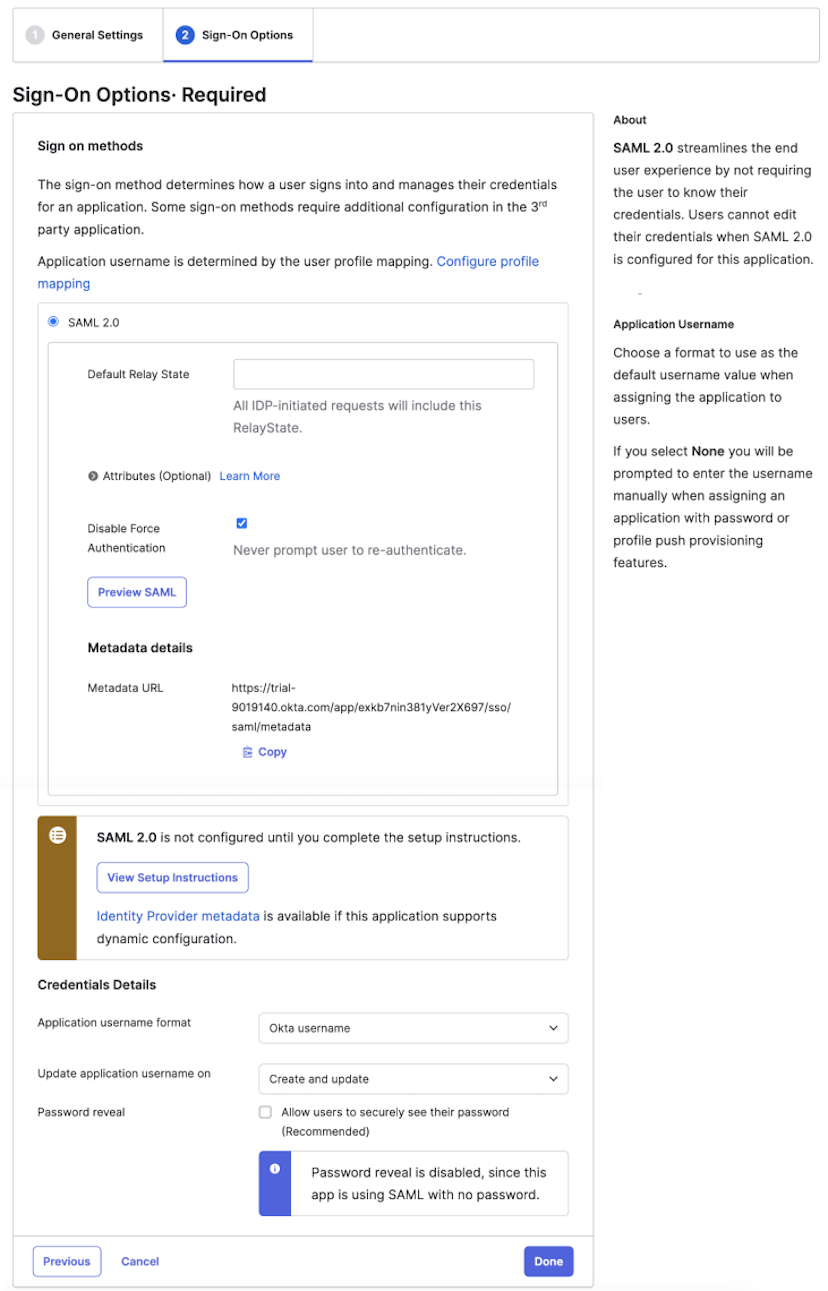
- On the sign-on options page, you can review the SAML 2.0 configuration. You can also find your metadata URL here, which you’ll need in GroWrk. Select Done when finished.
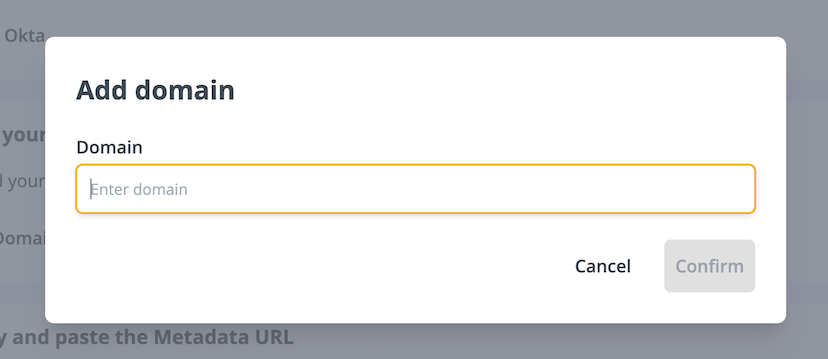
- Back in GroWrk, add your authorized domains.
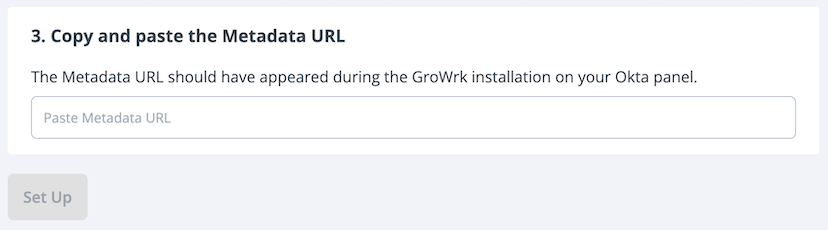
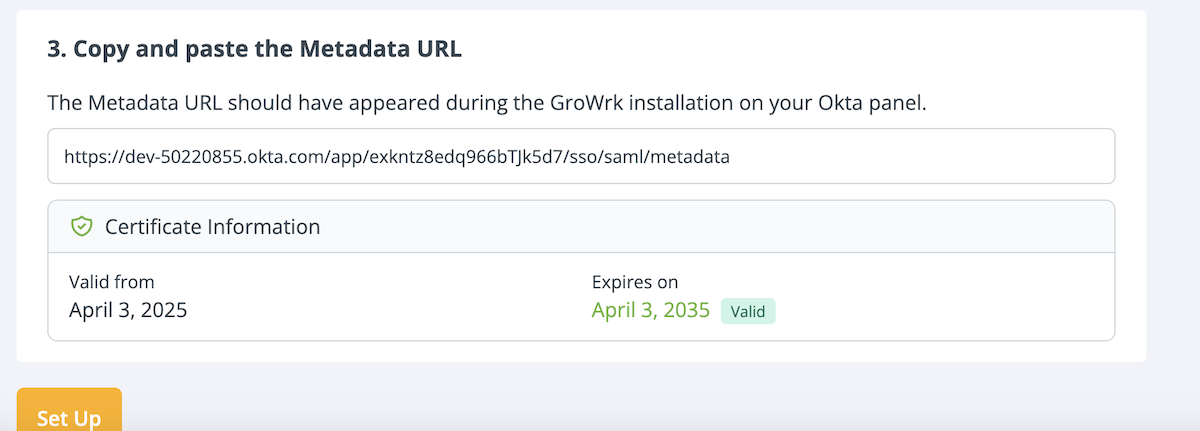
- Copy and paste the metadata URL into GroWrk.
- In your Okta admin console, go to the GroWrk application, then Sign On. Scroll down to find the Identity Provider metadata link. Copy this link.
- Go back to GroWrk, paste it, and select Set up.
- You’ll be notified that Okta SSO has been set up.
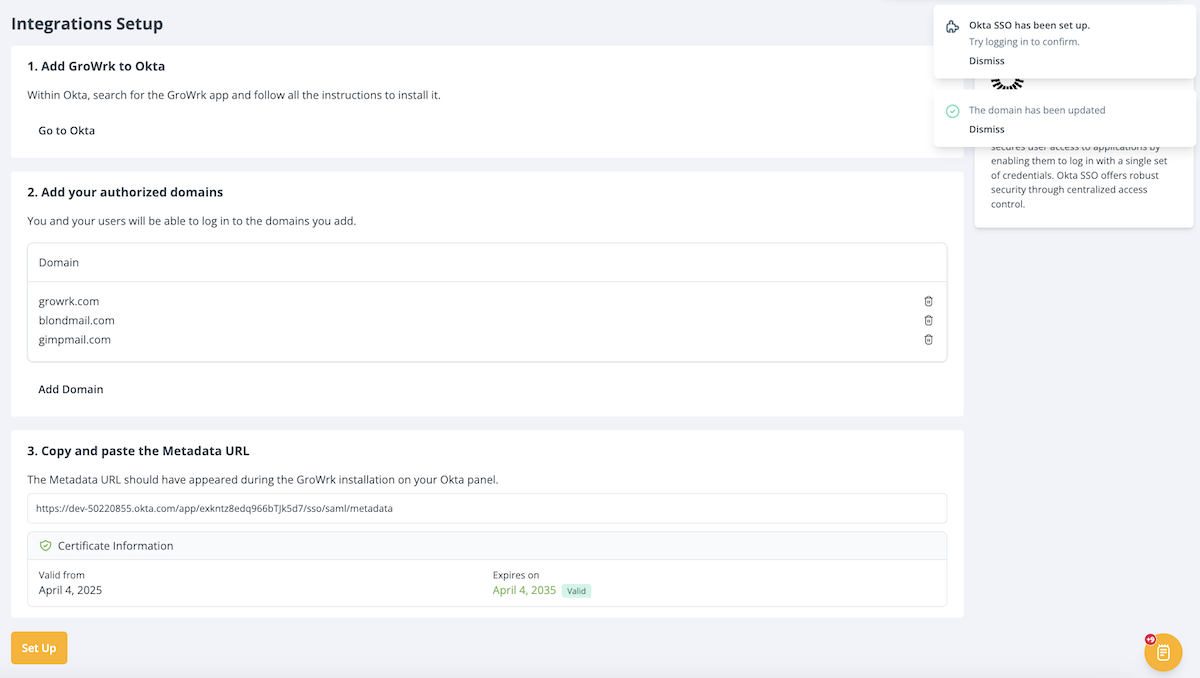
- Your certificate information will be displayed with the start and end dates of its validity. If you’ve changed the SAML Signing Certificate or activated a new one, enter the metadata URL and select Set up again to update it.
Testing SP‑Initiated Login
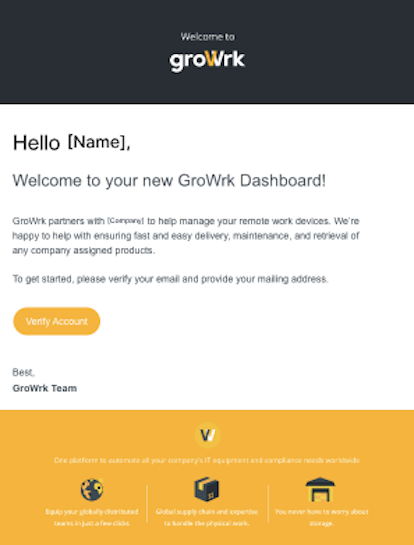
When inviting new employees, they may use their Okta credentials to access their GroWrk Dashboards.
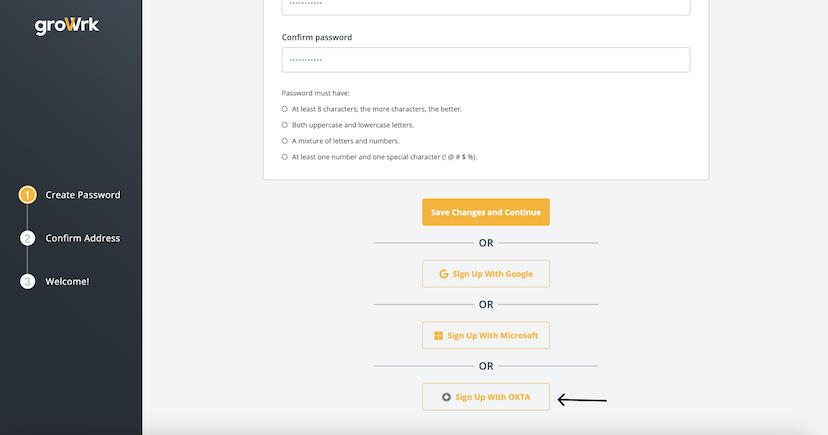
- The user is sent an email invite to their Dashboard. Once selecting Verify Account, the user is taken to a new page to set up their account.
- The user is asked to create a new password. They enter their corporate email and scroll down to select Sign up with OKTA.
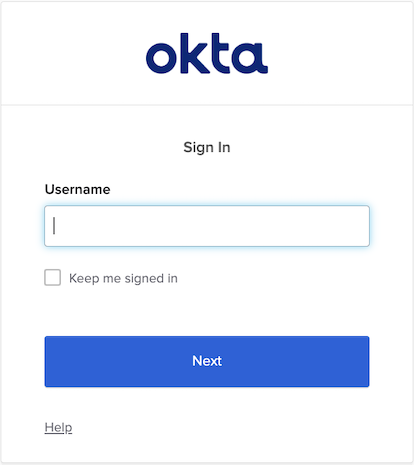
- A new window opens with Okta’s sign in page. They enter their username and select Next.
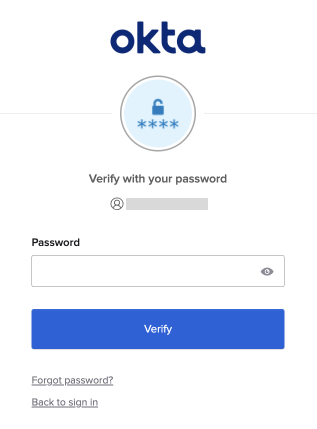
- They enter their password and select Verify.
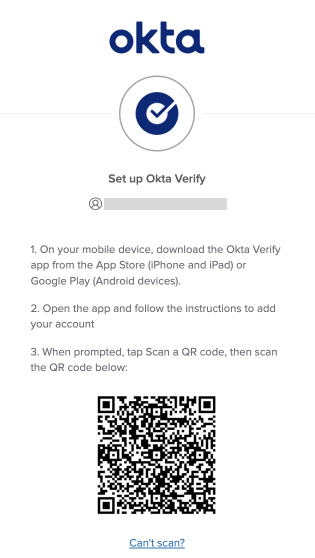
- They may be required to set up Okta Verify as a security method. They select Setup and follow the instructions. After completing the setup, they’ll be notified that their account was generated.
- The user fills out their additional information (name, contact, delivery address) and selects Save Changes and Continue.

- Finally, they have access to the GroWrk Dashboard. Whenever they sign in to GroWrk, they can select Sign in with OKTA.
Note: If a user does not sign up with Okta and creates a GroWrk password instead, they can still log in with their Okta credentials later on.
Troubleshooting
Common Issues
- Invalid SAML Response
- Check that the metadata URL you copied from Okta is correct and that your ACS URLs and Audience match in GroWrk.
- User Email Mismatch
- Ensure the user’s Okta profile email matches the email they use in GroWrk.
- Access Denied / Not Assigned
- Verify the user is assigned to the GroWrk app in Okta.
- Okta Verify Setup
- If a user is stuck setting up Okta Verify, confirm your MFA policies in Okta Admin.
Checking Okta Logs
If issues persist, check Okta System Logs under Reports > System Log in Okta for detailed error messages.
Contact Support
If you still have trouble, please contact GroWrk Support or your Customer Success Manager. Provide:
- A screenshot of your Okta configuration
- The exact error message
- The user’s email address
- Approximate timestamp of the failed login attempt
For further assistance or additional configuration questions, please reach out to us at support@growrk.com.